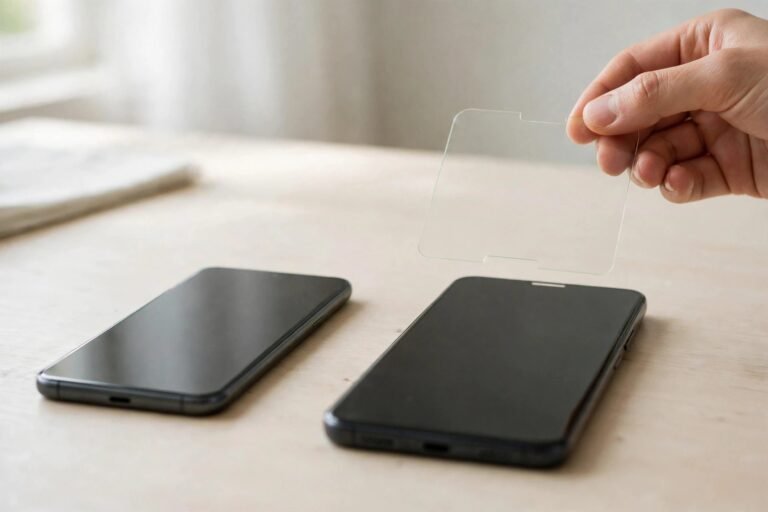

A paperlike screen protector transforms how an iPad feels under the Apple Pencil — the smooth glass becomes a textured surface with just enough friction to mimic pen on paper. But paper-feel protectors are thin, flexible films, not rigid glass, which makes fitting one a different job from dropping a tempered glass panel into place. The film can crease, trap dust invisibly, and stretch slightly as you work, so the technique matters.
This guide walks through the full fitting process for a paperlike protector on an iPad: setting up a dust-free workspace, using the hinge method for alignment, working the squeegee correctly on matte film, and dealing with the bubbles that behave a little differently on a textured surface than they do on glass.
Key Takeaways
- Paperlike protectors are flexible matte films — they crease if bent sharply, so handle them flat and support the whole sheet.
- Fit the protector in a steamy bathroom or another low-dust room; matte film shows trapped dust specks more than glossy glass does.
- The hinge method — taping one long edge before peeling the backing — gives the most reliable alignment on a large iPad screen.
- Squeegee from the centre outward in overlapping strokes, and never drag a bare hard card across the matte texture.
- Check the front camera cutout alignment before the film settles — a shifted film can soften the camera image and affect Face ID.
- Tiny bubbles under matte film often settle within 24 hours as the adhesive wets out; bubbles with dust inside never do.
Why Paperlike Film Fits Differently
Tempered glass is self-supporting: you hold it by the edges and it stays flat. A paperlike protector is a PET or similar film coated with a micro-textured matte layer, and it flops. That flexibility brings two risks. First, if the film folds back on itself during fitting, the crease can mark the surface permanently. Second, the film can stretch very slightly if you pull it while positioning, which throws the camera and edge cutouts out of register by a millimetre or two — enough to matter on a precisely cut iPad protector.
The matte texture also changes how mistakes look. On glossy glass, a trapped dust speck announces itself as a bright halo bubble. Under matte film, dust shows as a small pale dot that catches the light differently from the surrounding texture, and it is much harder to spot once the film is down. That is why the preparation below leans so heavily on dust control: with paperlike film, prevention beats correction.
Step 1: Prepare a Dust-Free Workspace
Run a hot shower for a few minutes and work in the steamy bathroom, or choose the stillest, cleanest room you have and close the windows. Wash and dry your hands, remove the iPad’s case, and lay everything out: the protector (still sealed), the included wipes and dust stickers, the squeegee or a bank card, a microfibre cloth, and two or three strips of low-tack tape for the hinge.
Wipe the iPad screen with the wet wipe, buff it dry with the microfibre cloth, then go over the whole surface with the dust-removal sticker. Hold the iPad at an angle to a bright light — dust that is invisible face-on shows up clearly at an angle. Repeat the sticker pass until the glass is genuinely clean, and do not touch the screen afterwards.
- Clean the screen, then wait two minutes before the final dust-sticker pass. Wiping stirs up fibres and dust that need a moment to settle — the last pass just before fitting catches what the first one missed.
Step 2: Position the Film and Build the Hinge
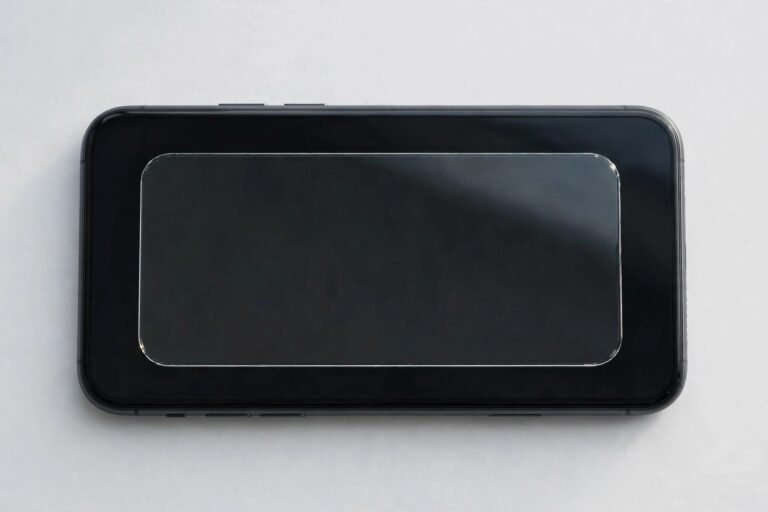
Without peeling anything, lay the protector over the iPad screen — most paperlike films have a labelled backing layer, and that side goes down. Align it carefully: centre the front camera cutout over the camera, check equal margins on all four edges, and confirm the film does not overlap the bezel anywhere. Take your time; this dry alignment is the position the hinge will lock in.
Once you are happy, press two or three strips of tape across one long edge, half on the film and half on the back of the iPad, forming a hinge. Flip the film back along the hinge like opening a book, and give the screen one final dust-sticker pass. The hinge now holds your alignment while both hands are free for the application itself.
Step 3: Peel, Lower, and Squeegee
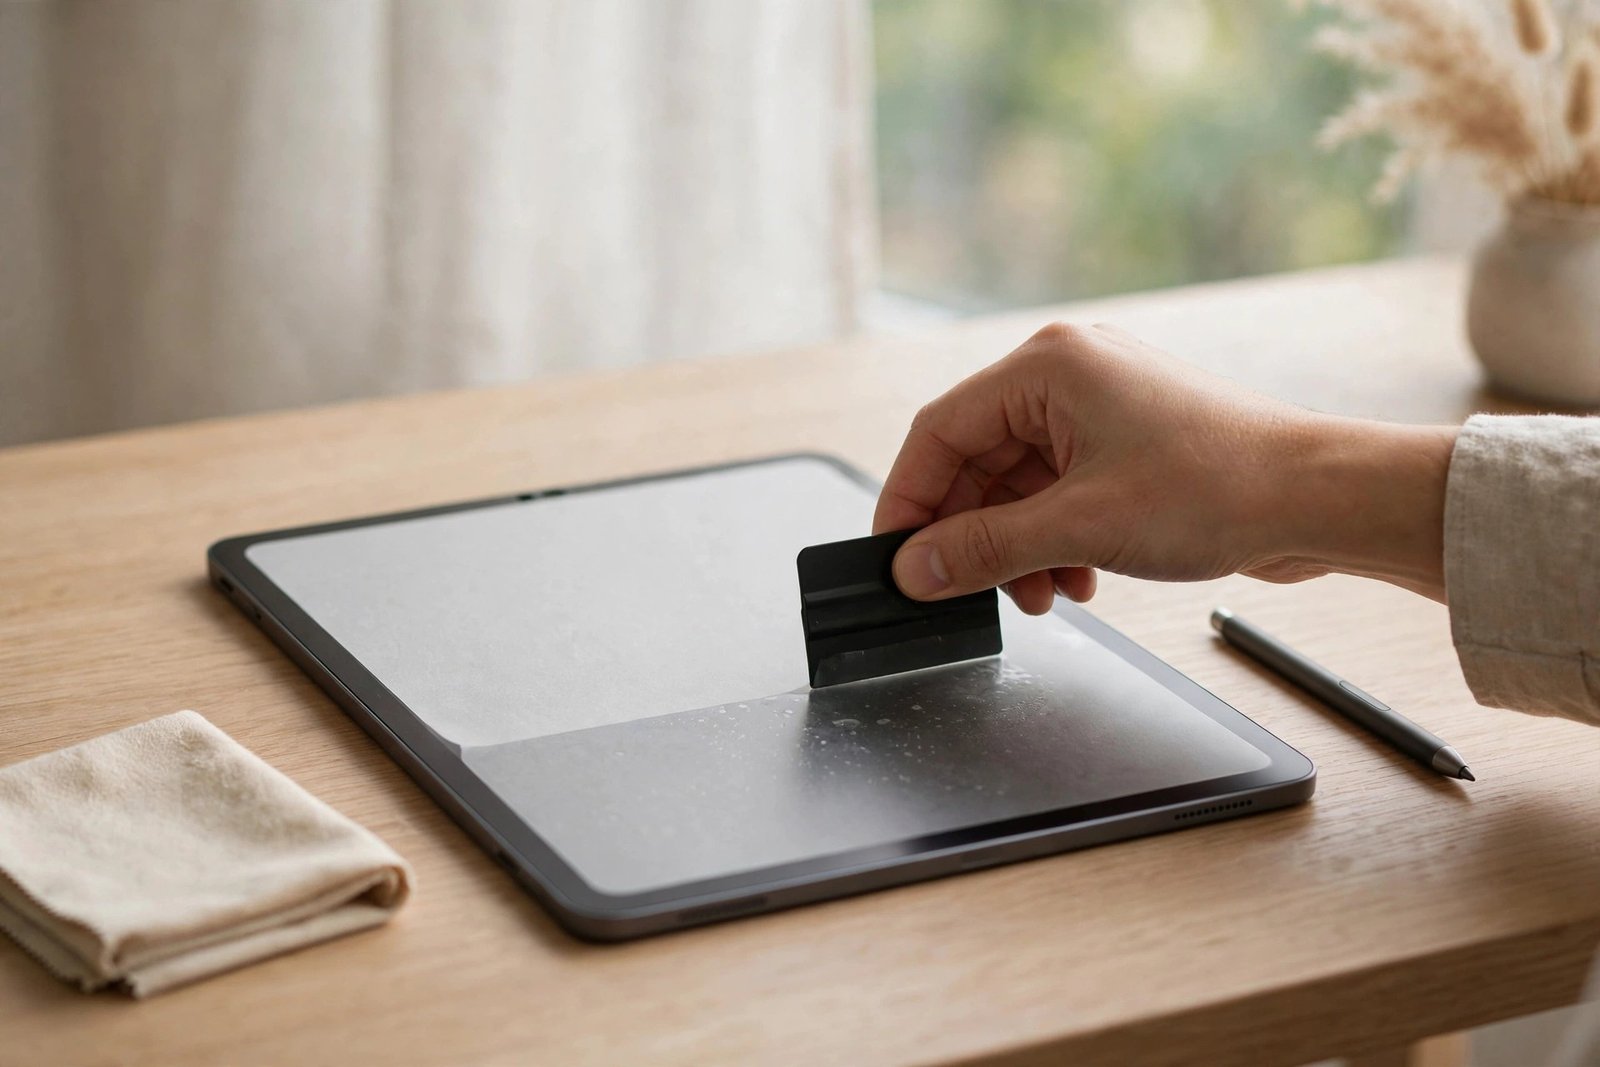
Peel the backing layer away slowly, keeping the film supported so it does not fold onto itself. Then lower the film onto the screen from the hinged edge, letting it settle progressively across the display rather than dropping it all at once. As it goes down, work the squeegee from the centre outward in firm, overlapping strokes, chasing the air ahead of the film. Keep the squeegee wrapped in the microfibre cloth, or use the soft card supplied in the pack.
Never drag a bare hard card or a metal edge across a paperlike surface: the matte coating scratches surprisingly easily before it has fully settled, and a scratch in the texture is permanent. Work methodically — centre to top, centre to bottom, then the corners — and if a section lands crooked, lift gently from the nearest corner while the adhesive is fresh and relay it rather than pulling the whole film up.
- If your kit includes two protectors, treat the first as insurance rather than a practice run — but if the first fit goes wrong, lift it within the first minute or so. Fresh adhesive releases far more cleanly than adhesive that has sat for an hour.
Step 4: Bubbles and Edges on Matte Film
Small, clean bubbles under paperlike film respond well to a squeegee stroke toward the nearest edge. Work them one at a time and patiently — matte film is thinner than glass, so aggressive pressure can stretch it and create a wavy distortion around the bubble. Bubbles that refuse to move usually contain a dust speck; lift the nearest corner with tape, dab the speck off the adhesive with a dust sticker, and relay that section.
Finish by running a cloth-wrapped finger firmly around all four edges to seat them, then check the camera cutout one last time with the iPad unlocked. Leave the case off for at least 30 minutes so the edges are not disturbed, and expect the film to look fractionally hazier for the first day — that is the adhesive finishing its wet-out, not a defect.
Frequently Asked Questions
Can I reposition a paperlike protector after fitting it?
Within the first minute or two, yes — lift slowly from a corner and relay it. After the adhesive has settled, lifting usually stretches or creases the film and weakens the bond, so a fresh protector from the pack gives a better result.
Why does my paperlike protector look cloudy in places?
Patchy cloudiness in the first 24 hours is normally the adhesive wetting out unevenly and it typically evens out on its own. Cloudiness that stays put usually means moisture or a contaminant under the film, which only a refit will fix.
Does the fitting method differ for magnetic paperlike protectors?
Yes — magnetic paper-feel protectors simply snap onto the iPad’s bezel and need no hinge, peeling, or squeegee at all. They are removable and reusable, which makes them ideal if you only want the paper feel while drawing.
Fit a paperlike protector slowly, in clean air, with the hinge doing the alignment work — and the iPad will feel like a sketchbook from the first stroke.