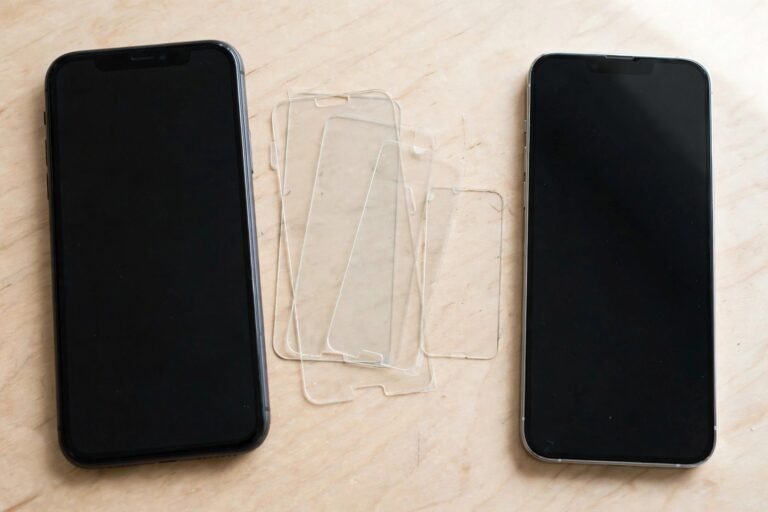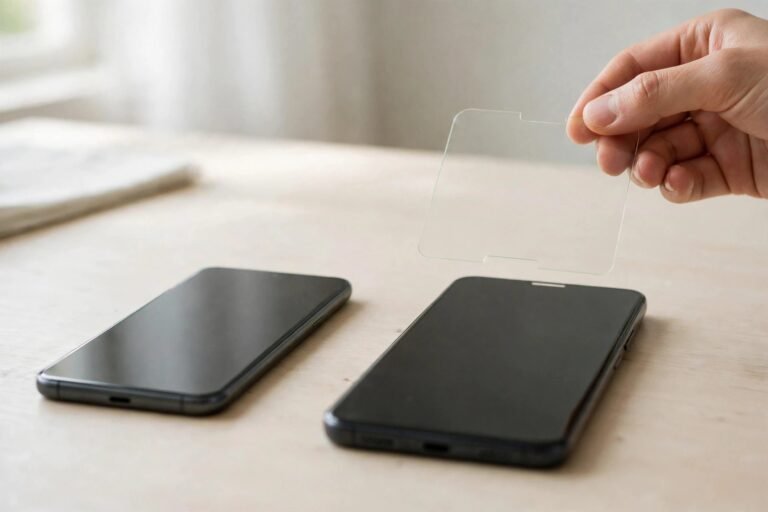

It is the most maddening sight in the screen-protector world: a perfect installation ruined by one tiny speck of dust sealed under the glass, sitting in a bubble that no amount of pressing will shift. Smoothing will not help, because the bubble is not air — it is the protector tenting over a solid particle. The good news is that you do not need to start again with a new protector. The lift-and-tape rescue can remove that speck in about a minute, if you work carefully.
This guide explains how to lift the nearest corner of the protector without cracking or contaminating it, how to lift the dust away with a dust-absorber sticker or clean tape, and how to lower the protector back into place for a flawless finish.
Key Takeaways
- A bubble with a visible speck at its centre is caused by dust and will never press out — the speck must be physically removed.
- Lift only the nearest corner, and only just far enough to reach the speck — never peel the whole protector off.
- Use a dust-absorber sticker or clean low-tack tape to dab the particle away; never use fingers, cloth, or blowing.
- Work in a steamy bathroom so humidity settles airborne dust while the adhesive is exposed.
- Lift slowly — tempered glass that flexes too far will crack, and a rushed lift drags in more dust than it removes.
- Lower the protector gradually and press from the lifted corner inward to expel air as it reseals.
First, Confirm It Really Is Dust
Before lifting anything, examine the bubble closely under a bright light. A dust bubble has a tiny dark or shiny particle at its centre, and it feels like a pinpoint tent when you press near it. A plain air bubble, by contrast, is empty, moves slightly when pushed, and can usually be worked out to the nearest edge with a fingertip or a squeegee. Plain air bubbles left near the centre also often shrink on their own within a day or two as the adhesive flows.
Only proceed with the lift if you can see the speck. Lifting a protector is a small risk every time you do it, so do not take that risk for a bubble that pressing or patience would have fixed.
Step 1: Set Up and Lift the Nearest Corner
Run a hot shower for a few minutes and work in the steamy bathroom — this single step dramatically reduces the chance of new dust landing while the adhesive is exposed. Wash and dry your hands, and have your dust-absorber stickers or a roll of clean tape torn into short strips ready before you touch the phone.
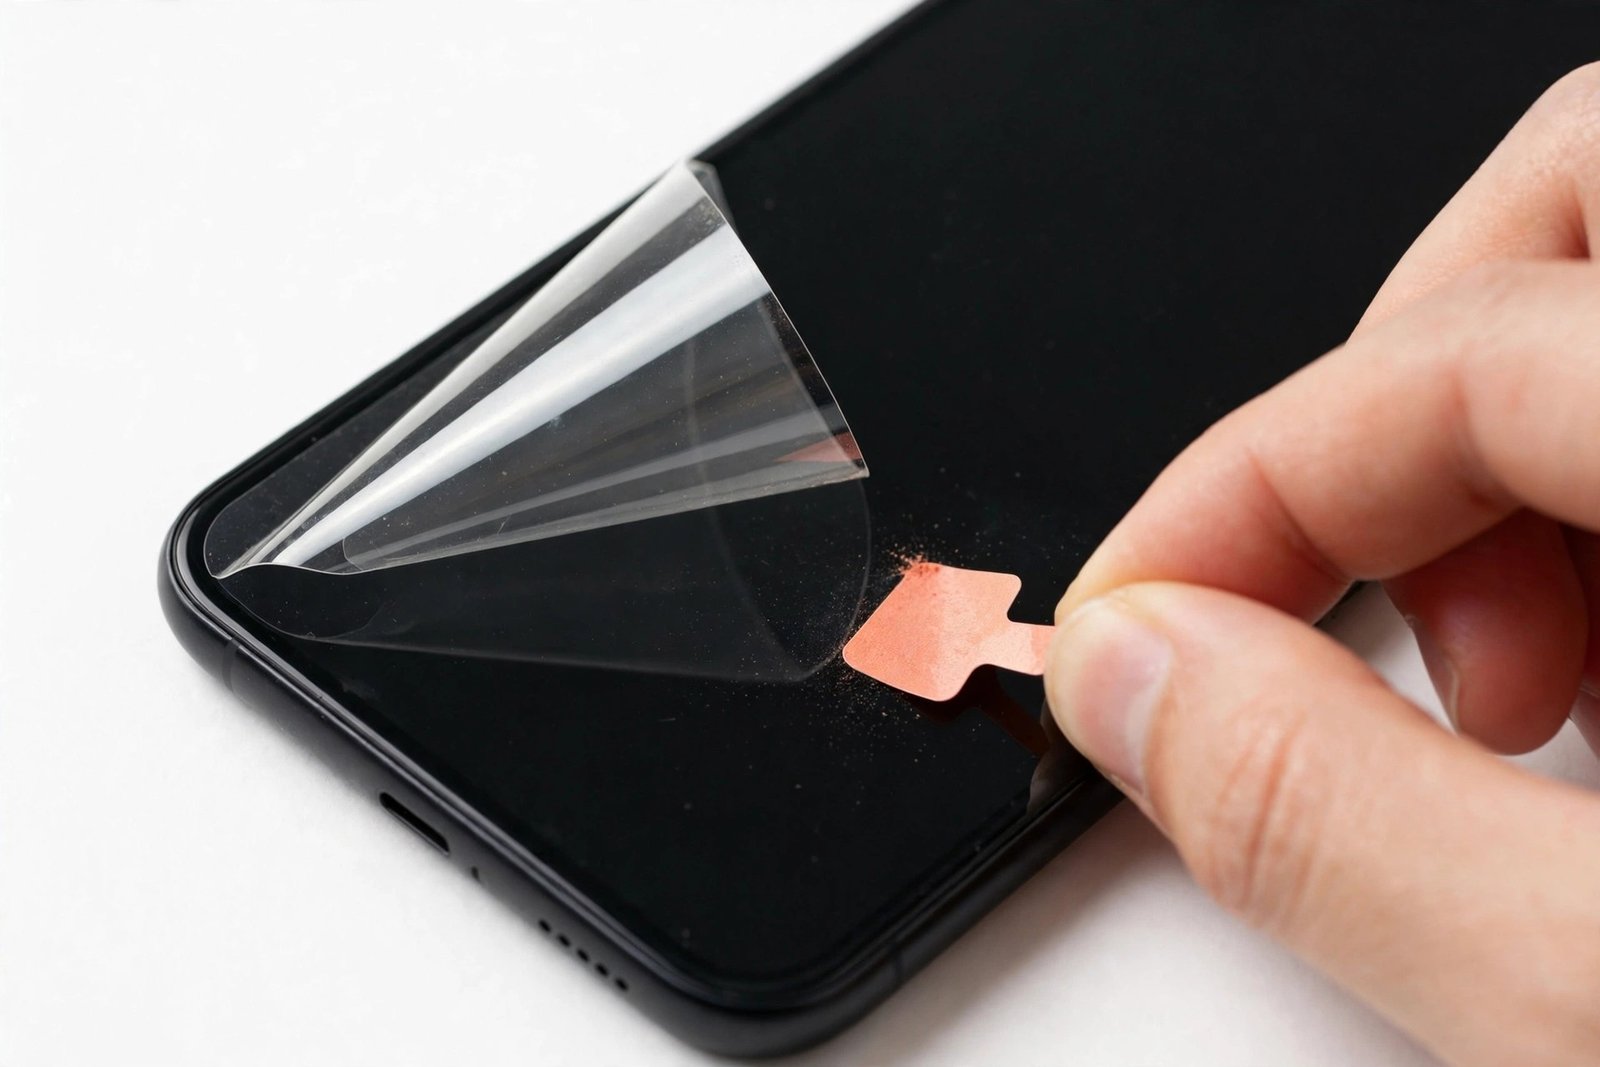
Choose the corner closest to the speck — the less you lift, the better. Slide a fingernail or the edge of a thin plastic card under that corner and raise it very slowly, just until you can reach the particle. Support the lifted glass as you go; tempered glass tolerates a gentle curve near the corner but will snap if it is levered up at a steep angle. If the speck is dead centre, you may need to lift a full edge — still work from the nearest side and lift no further than necessary.
- Stick a strip of tape on top of the corner before you lift, and use it as a handle — it gives you fine control over the glass and keeps your fingers (and their dust and oil) away from the adhesive.
Step 2: Dab the Speck Away
With the corner raised, locate the particle. It may be sitting on the screen, or clinging to the adhesive side of the protector — check both surfaces. Press the sticky face of a dust-absorber sticker (supplied in most protector kits) directly onto the speck and lift; the particle transfers to the sticker. A short length of clean sticky tape works the same way. Dab, never wipe: wiping drags fibres across the adhesive and creates three new specks for every one removed.
While the protector is up, give both exposed surfaces a quick visual scan under the light and dab away anything else you spot — this is your one chance. Do not blow on the screen; breath carries moisture and microscopic droplets that show up as fresh marks. If the sticker itself starts leaving residue, switch to a fresh one rather than pressing on with a dirty sticker.
Step 3: Lower the Protector Back Down
Lower the lifted corner slowly and progressively, letting the adhesive re-contact the screen a few millimetres at a time rather than dropping it in one go, which traps a wedge of air. As it settles, use a fingertip to press gently just behind the bonding line, chasing any air toward the edge you lifted. Once fully down, press firmly over the repaired area for twenty seconds.
Inspect the result. A faint ring sometimes remains where the bubble was; this usually fades within a few hours as the adhesive relaxes. If a speck is still there — perhaps a second one hiding beside the first — you can repeat the process once. Repeated lifts degrade the adhesive and multiply the dust risk, so if the second attempt fails, the honest answer is a fresh protector from the pack, fitted in the steamy room from the start.
- Keep the lifted protector face-up and moving as little as possible while it is raised — every second of exposure and every wave through the air collects more airborne particles onto the adhesive.
Frequently Asked Questions
Can I use any household tape for this?
Clean, fresh sticky tape works in a pinch, and the dust-absorber stickers included in protector kits are better still because they are designed to leave no residue. Avoid old, dusty tape rolls and anything with a very aggressive adhesive, which can leave deposits of its own on the glass.
What if the dust is under the middle of the protector?
Lift from the nearest edge and raise the protector only until your sticker can reach the speck — you rarely need to expose more than half the surface. If the particle truly cannot be reached without near-total removal, weigh the bubble against the risk: a full removal and refit often introduces more dust than it cures, so a single central speck is sometimes best lived with until the protector is next replaced.
Will lifting the corner crack my tempered glass?
Not if you lift slowly, from the corner, and only as far as needed. Tempered glass cracks when it is flexed sharply or levered with a hard tool at a steep angle. A fingernail or plastic card, gentle pressure, and patience keep the glass well within its safe flex.
One speck, one lift, one dab: work in steamy air, lift the nearest corner the minimum amount, and let the tape do the delicate work — that is the whole art of the dust rescue.