
Dust is the quiet enemy of every screen protector. A few specks on the surface make the display look grimy, but the real frustration is the dust that gets trapped underneath during installation — those tiny white dots surrounded by a halo of air that no amount of smoothing will push out. Whether the dust is sitting on top or sealed beneath, removing it safely is a matter of using the right technique for the situation.
The good news is that surface dust is one of the easiest screen protector problems to fix, and it rarely requires replacing anything. The method depends on where the dust is: loose particles on top lift off with tape or a blower, while dust sealed underneath needs a more careful approach. Here is how to handle each case, plus how to stop dust ruining your next installation.
Key Takeaways
- Low-tack tape (painter’s tape or packing tape) is the safest way to lift loose dust off a screen protector’s surface without scratching it.
- A rubber blower brush or a quick blast of compressed air removes dust from edges, speaker cutouts, and camera openings where cloths cannot reach.
- Never wipe a dusty protector with a dry cloth first — drag the grit across the surface and you will create micro-scratches.
- Dust trapped under the protector near the edge can sometimes be coaxed out with tape; dust in the centre usually means lifting or replacing the protector.
- Install your next protector in a steamy bathroom after a hot shower — the moisture pulls airborne dust out of the air and gives you a near dust-free workspace.
Why Dust Is Such a Problem for Screen Protectors
Every screen protector carries a slight static charge, and that charge turns the surface into a dust magnet. Pocket lint, fabric fibres, and fine household dust cling to it far more readily than to bare glass. On a clear protector this shows up as a grey film that dulls the display; on matte or privacy protectors the textured finish grips fibres even more visibly.
The bigger issue is dust sealed under the protector during installation. A single fibre becomes a visible speck with a halo of trapped air, and ordinary cleaning cannot reach it. Prevention matters more than cure here, which is why the installation section below deserves your attention even if your current problem is only surface dust.
The Tape Method: Best for Surface Dust
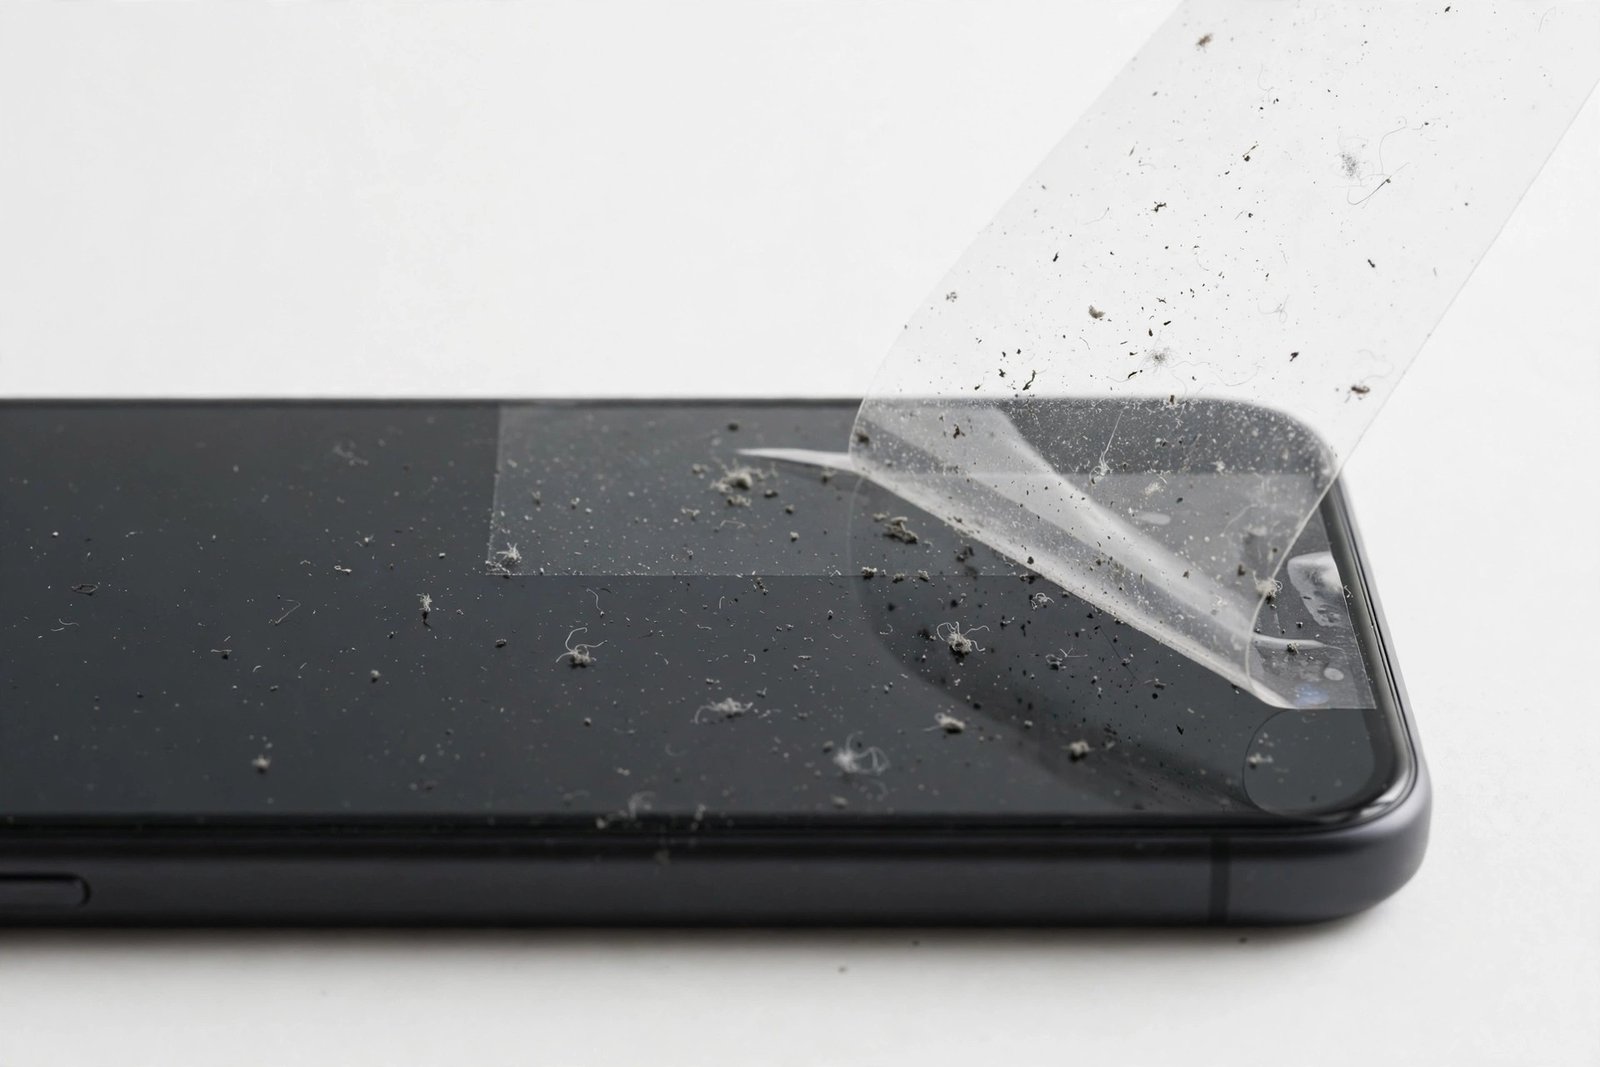
For dust sitting on top of the protector, tape is the gentlest and most effective tool. Tear off a short strip of low-tack painter’s tape — or use clear packing tape in a pinch — and press it lightly over the dusty area, then lift it straight away. The dust comes up with the adhesive, and because you are lifting rather than dragging, there is no risk of scratching.
Work across the whole surface in overlapping strips, using a fresh section of tape as each piece picks up dust. For narrow grooves around edges and camera cutouts, fold the tape into a point. Avoid duct tape or aggressive adhesives: they can leave residue or pull at the edges of a film-type protector and lift it.
- Keep a small roll of painter’s tape with your device cleaning kit. A two-second tape dab before wiping removes the grit that would otherwise get dragged across the protector by a cloth.
Using a Blower and Brush
A rubber blower brush — the kind photographers use on camera lenses — is ideal for dust lodged where tape and cloths struggle: speaker grilles, the seam between the protector and the frame, and around raised camera housings. A few firm squeezes blast the particles out without any contact at all, which makes this the safest option for protectors with delicate matte or privacy coatings. Canned compressed air works too, but hold the can upright and use short bursts from at least 15 centimetres away.
The Right Way to Wipe After De-Dusting
Once the loose dust is lifted with tape or a blower, follow up with a microfibre cloth to remove the remaining film and fingerprints — wiping first would drag grit across the surface like sandpaper. Use straight, light strokes from the centre outward, flipping to a clean section of cloth as you go. If a slightly damp cloth is needed for smudges, make sure the surface is dust-free before it touches.
Dealing with Dust Trapped Underneath
If the speck sits close to the edge, you can sometimes fix it without removing the protector: press tape over the spot, gently lift the nearest edge, and slide a small piece of tape underneath to dab the dust off the adhesive side. Lower the edge back down slowly and smooth toward the edge to push out air. This works best on flexible film or TPU protectors rather than rigid tempered glass.
Dust trapped in the middle of the screen is far harder to fix. Lifting a tempered glass protector that far usually breaks the adhesive seal or cracks the glass, and reseating it almost always traps more dust than you removed. In that situation, replace the protector and focus on a dust-free installation next time.
- Before lifting any edge to chase trapped dust, wash your hands and work in the steamiest room available — every second the adhesive is exposed, airborne dust is settling on it.
Preventing Dust During Installation
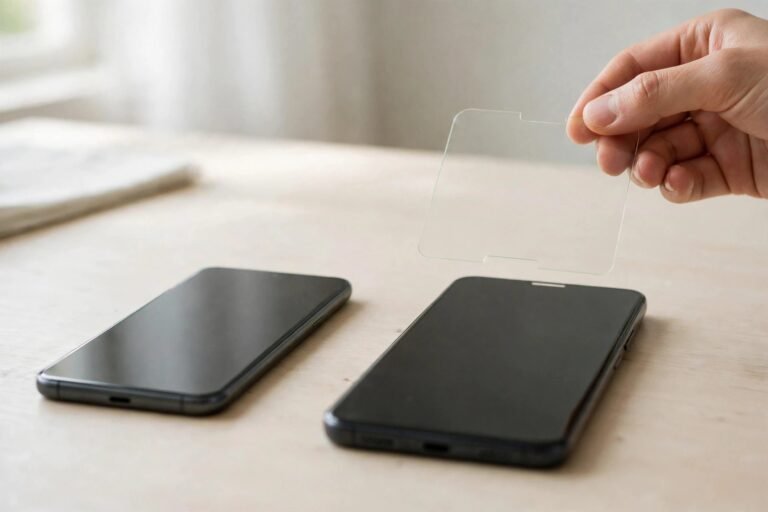
The best dust removal is the dust that never gets trapped. Run a hot shower for a few minutes with the bathroom door closed, then install the protector in the steamy room: the moisture in the air binds to floating dust particles and pulls them down, leaving the air remarkably clean. Wipe the bare screen with the included dust-removal sticker or a strip of tape immediately before peeling the protector’s backing, and avoid installing near open windows, fans, or fabric that sheds fibres.
Alignment frames and hinge-method kits reduce the time the adhesive spends exposed, which directly reduces how much dust can settle on it. If your protector did not include stickers, a strip of painter’s tape pressed over the bare screen and lifted away works just as well as a branded dust absorber.
Frequently Asked Questions
Can I use a vacuum cleaner to remove dust from my screen protector?
A small handheld vacuum with a soft brush attachment can work for heavy dust, but it is overkill for normal use and the brush can drag grit if pressed down. Tape or a blower is gentler and just as effective for everyday dust.
Why does dust keep coming back the day after I clean it?
The protector’s static charge rebuilds within hours and starts attracting particles again, especially in a lint-filled pocket or bag. A quick tape dab every few days keeps it under control.
Is it safe to rinse a screen protector under the tap to remove dust?
No. Running water can seep under the edges, weaken the adhesive, and leave mineral spots as it dries. Stick to tape, blowers, and barely damp cloths — they remove dust without risking the installation.
When Dust Means It Is Time to Replace
Surface dust is never a reason to replace a protector — it cleans off completely with the methods above. Replacement only becomes the answer when dust is trapped under the centre of the protector and cannot be coaxed out, or when repeated edge-lifting to chase dust has weakened the adhesive so the edges no longer sit flat. A fresh protector, installed in a steamy room with proper dust removal beforehand, will look dramatically better.
Dust on a screen protector is easy to deal with once you stop wiping it around: lift it with tape or a blower first, then finish with a microfibre cloth. And for your next installation, remember the steamy bathroom trick — it prevents the trapped-dust bubbles that no cleaning can fix.