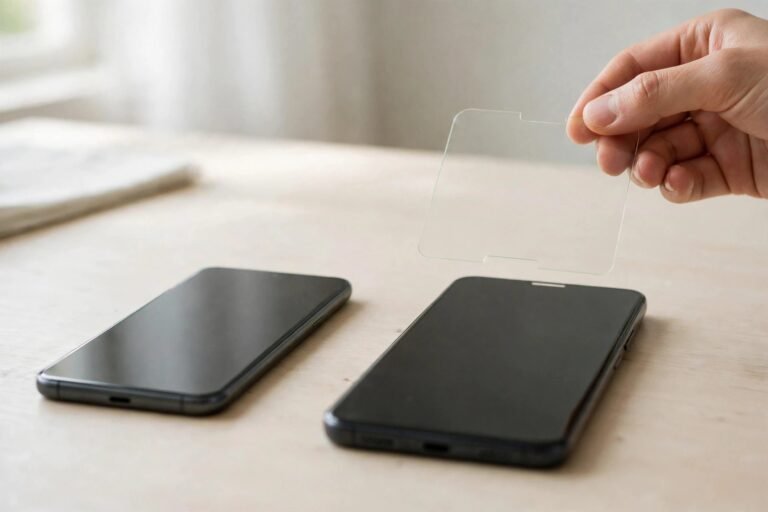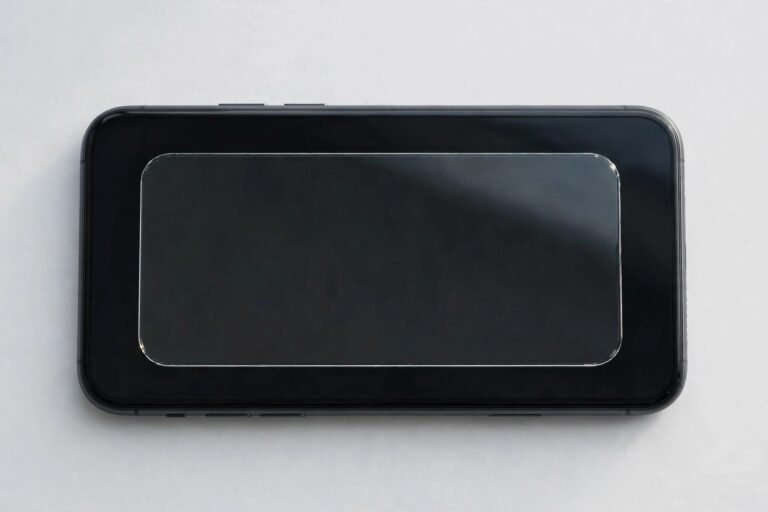

Removing a screen protector from a Nintendo Switch sounds like the same job as peeling one off a phone — but the Switch family has quirks that catch people out. The original model has a plastic screen that a careless tool can gouge in a second, and the Switch OLED arrives with a factory film that Nintendo specifically says not to remove. Knowing exactly which surface you are dealing with matters more than the peeling itself.
This guide covers how to remove aftermarket film and tempered glass protectors from the Switch, Switch Lite and Switch OLED safely: softening the adhesive with gentle heat, lifting without scratching, cleaning off residue, and the extra care the plastic-screen models demand.
Key Takeaways
- Identify your model first: the original Switch and Switch Lite have plastic screens; the Switch OLED has a glass screen.
- The OLED’s pre-applied anti-scattering film is a factory layer — don’t remove that one. Remove only protectors fitted on top of it.
- Gentle warmth from a hairdryer on its lowest setting softens adhesive and makes peeling far safer.
- Peel slowly from a corner with a fingernail or plastic card — never metal, especially on the plastic-screen models.
- Cover cracked tempered glass with tape before peeling, so the shards stay together.
- Clean residue with a microfibre cloth and a little isopropyl alcohol on the cloth, never sprayed onto the console.
Know Your Model Before You Peel
The original Nintendo Switch and the Switch Lite both use a plastic display surface. Plastic is light and shatter-resistant, which suits a handheld — but it is soft, which is exactly why these consoles pick up scratches so readily and why almost every owner fits a protector in the first place. It also means the screen itself is the thing most at risk during removal: anything harder than the plastic, dragged across it under pressure, will leave a mark.
The Switch OLED uses a glass screen, and Nintendo pre-applies a very thin “anti-scattering” adhesive film to it at the factory. Its job is to hold the glass together if the screen ever shatters, and Nintendo explicitly advises against peeling it off. It is nearly invisible, has no tabs or packaging-style edges, and is not a shipping film. Your own screen protector — film or tempered glass — sits on top of it, and only that top layer is yours to remove.
Removing a Film Protector
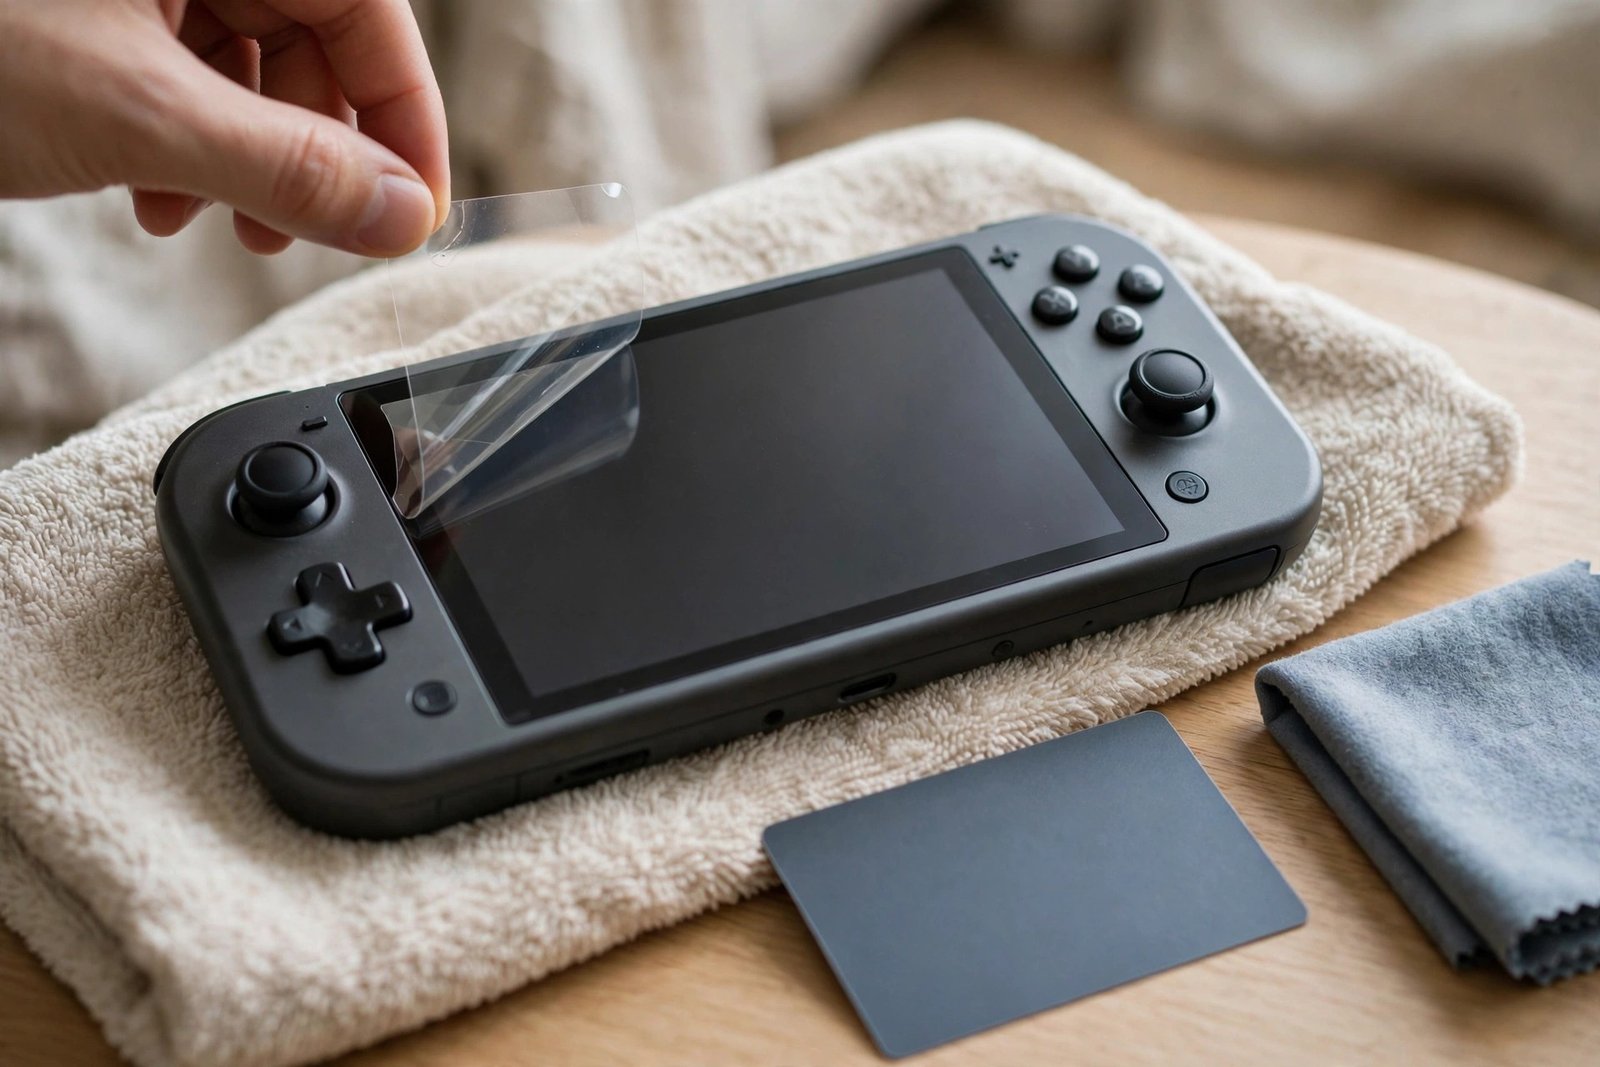
Power the console fully off, take it out of its dock, remove the Joy-Con if that makes it easier to handle, and lay it on a soft towel. Start at one corner of the protector and work a fingernail underneath the edge. If the corner won’t lift, slide the edge of a thin plastic card — a loyalty card, not a bank card with a chip you care about — gently under it instead.
Once the corner is up, peel the film back on itself slowly, keeping it low and close to the screen rather than pulling upwards. Low and slow keeps the adhesive releasing evenly and stops the film snapping back onto the screen. If it resists or starts to stretch and tear, stop pulling and warm it first (see below) rather than forcing it — a torn film leaves twice the work behind.
- Warm the screen for 20–30 seconds with a hairdryer on its lowest heat setting, held about 15cm away and kept moving. The adhesive softens noticeably and releases far more willingly. Never use high heat — excessive heat can damage the display and the battery behind it.
Removing Tempered Glass
Tempered glass comes off differently because it is rigid. If the glass is cracked, cover the whole protector with strips of packing tape or masking tape first, pressing them down well — this holds the shards together as one sheet when it lifts. Then work a fingernail or plastic card under a corner and raise it slowly, letting the adhesive give way progressively along the edge rather than levering the whole sheet up at once.
Support the glass with your other hand as it comes free so it doesn’t flex and snap. If it does break mid-peel, don’t reach for the pieces with bare fingers — lay fresh tape over the fragments and lift them away as a group, then continue with whatever section remains. On the plastic-screen models, work with particular patience: a rigid sheet that suddenly lets go can skate across a soft screen, so keep your movements small and controlled.
Cleaning Residue and Checking the Screen
After removal you may find a faint adhesive outline or sticky patches where the protector sat. Dab a little isopropyl alcohol onto a microfibre cloth — never apply liquid directly to the console, and keep moisture away from the speaker grilles, vents and cartridge slot — and wipe in gentle circles. Stubborn spots usually roll off if you dab, wait a few seconds, and rub lightly with a fingertip through the cloth. Avoid pressing hard or scrubbing, particularly on the plastic screens.
Finish by inspecting the bare screen with the console off, holding it at an angle under a lamp. Lines that follow the old protector’s edges are almost always residue and will wipe away; anything that remains after a gentle clean is likely a mark in the surface itself. On the original and Lite models, don’t be disheartened by very fine marks: fitting a fresh tempered glass protector often makes them far less visible, because the new adhesive layer fills light scratches optically.
- Refit a new protector straight away, especially on the plastic-screen models. A bare plastic Switch screen can pick up a scratch from something as ordinary as sliding the console into its dock — the minutes between protectors are when these screens are most vulnerable.
Frequently Asked Questions
I peeled a film off my Switch OLED — was that the factory film?
Possibly, but more likely not. Aftermarket protectors are noticeably thicker or stiffer, with defined edges you can feel; the factory anti-scattering film is extremely thin and almost undetectable. If whatever you removed came away as an obvious sheet, it was probably yours. If you are genuinely unsure or the surface now feels odd, fit a tempered glass protector over it, avoid peeling anything else, and ask Nintendo’s support if you’re concerned.
Can I use a metal tool to start the corner?
On the plastic-screen models, absolutely not — a metal blade or spudger will gouge the soft surface the moment it slips. Even on the OLED’s glass, metal risks chipping the protector’s edge and sending shards across the screen. A fingernail or a plastic card is slower by seconds and safer by far.
The glue won’t come off — what else can I try?
Warmth and patience shift most adhesive: warm the area gently, then press a strip of strong tape onto the residue and peel it away — the tape often pulls the glue off with it. For the last stubborn dots, a little isopropyl alcohol on a cloth, dabbed and left for a few seconds before wiping, usually finishes the job. Avoid solvent cleaners and anything abrasive, which can cloud plastic screens permanently.
Take it slowly, keep metal away from the screen, and respect the OLED’s factory film — and removing a Switch protector is a five-minute job that leaves the console ready for a fresh one, not a repair.