
Screen protectors are cheap and everywhere — until they are not. Own an older tablet, an obscure budget phone, an e-reader from a forgotten brand, or a device with an unusual screen shape, and you may find that nobody makes a protector for it. That is when an old craft comes back: cutting your own protector from a sheet of PET film. It is entirely doable with household tools, a steady hand, and realistic expectations.
This guide walks through the whole process — choosing film, making an accurate paper template, cutting cleanly, and applying the finished piece with the wet method. It also covers the honest part: what a homemade protector can and cannot do compared with a factory-made one, and the situations where DIY is genuinely the best option.
Key Takeaways
- You can make a serviceable protector from a clear PET film sheet (often sold for larger devices or as universal film) with scissors, a ruler, and patience.
- The paper template method is the key to a good fit — never cut film directly against the device.
- A wet application (a fine mist of water) gives you repositioning time and far fewer bubbles than a dry fit.
- A homemade film protector guards against scratches only — it offers no meaningful impact protection, unlike tempered glass.
- DIY makes most sense for odd, old, or obsolete devices where no manufactured protector exists at any price.
What You Will Need
Gather everything before you start. You need: a sheet of clear PET screen-protector film — the easiest source is an oversized protector made for a large tablet, which gives you material to spare; a sheet of plain paper and a pencil; a metal ruler; sharp scissors (or a craft knife and cutting mat for straighter edges); a spray bottle with water and a single drop of washing-up liquid; a microfibre cloth; and a credit card to use as a squeegee. Work on a clean, flat, well-lit surface.
Step 1: Make a Paper Template First
Never measure the screen and cut from numbers alone — screens have rounded corners, speaker slots, and camera cut-outs that measurements miss. Instead, lay the sheet of paper over the device’s screen and trace the outline of the display area with a pencil, marking the positions of the speaker, front camera, and any sensors. Then cut the paper template out and lay it on the screen to check the fit, trimming a fraction at a time until it sits exactly where the protector should go.
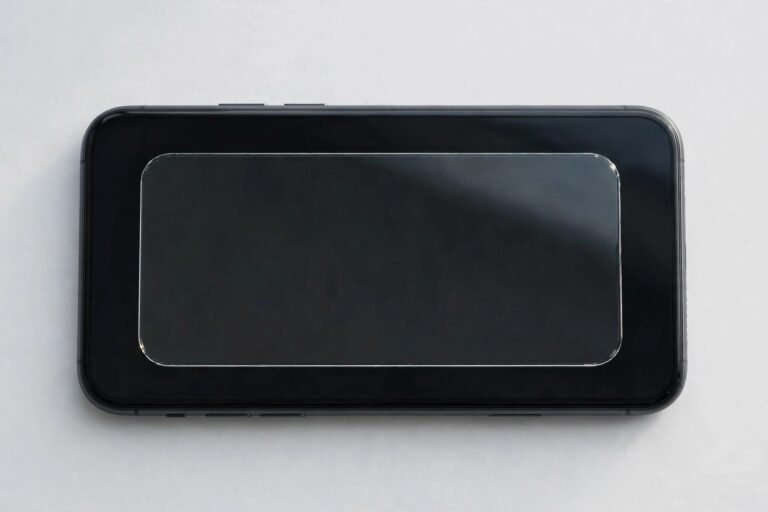
Two refinements matter. First, cut the template about 1 millimetre smaller than the full glass on every side — a protector that reaches the very edge will catch on cases and lift. Second, for the camera and speaker, you usually do not need precise holes: a small U-shaped notch cut down from the top edge of the template covers the speaker and camera area neatly and is far easier to cut cleanly than a tiny enclosed hole.
- If your device once had a factory-fitted film or an old protector, use the old one as the template — peel it off, lay it on the new film, and trace around it. A worn-out protector is the most accurate pattern you will ever get for that device.
Step 2: Cut the Film
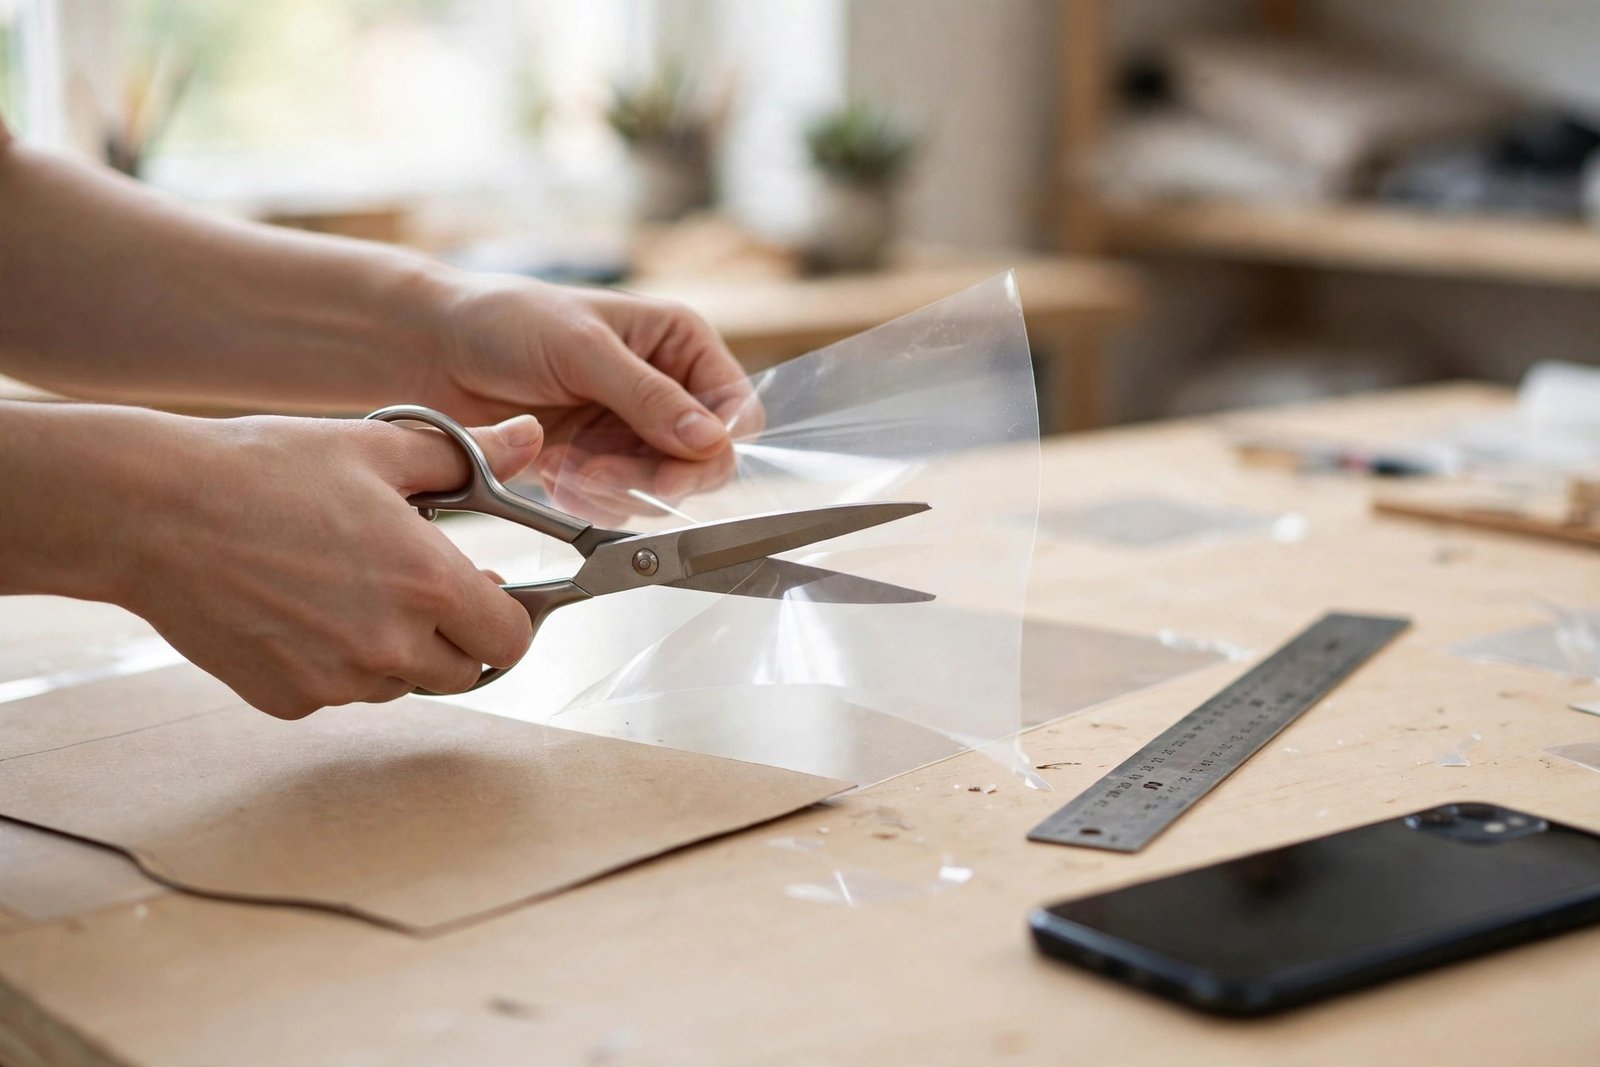
Lay the paper template on the PET film sheet — on the side away from the adhesive backing — and trace around it with a fine pencil or marker. Then cut just inside your line, slowly, with long smooth scissor strokes rather than short snips; short snips leave a serrated edge that shows after fitting. If you are using a craft knife, press the ruler firmly along each straight edge and make one confident pass. Round the corners slightly even if the template corners are sharp — film corners that end in a point are the first thing to catch and peel.
Step 3: Apply It Wet
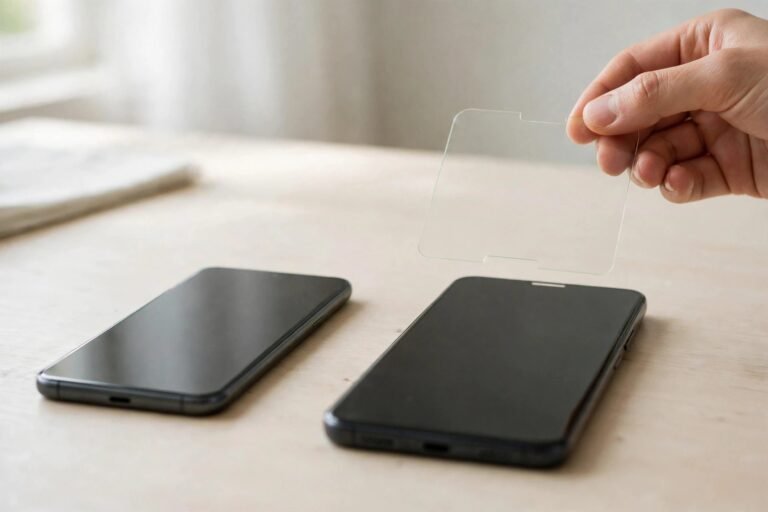
Clean the screen thoroughly with the microfibre cloth first — with a DIY fit there is no dust-removal sticker luxury, so be meticulous. Fill the spray bottle with water plus one drop of washing-up liquid, mist the screen lightly, and mist your fingertips too (wet fingers do not leave prints on adhesive). Peel the backing from your cut film, mist the adhesive side, and lay the film onto the wet screen. It will float slightly — that is the point. Slide it into perfect alignment, then squeegee from the centre outward with the credit card, pushing the water out to the edges. Blot the squeezed-out water with the cloth as you go.
The edges will look cloudy and unsettled for a while. Leave the device alone for at least an hour — overnight is better — while the remaining moisture evaporates and the adhesive takes hold. Keep the device out of its case during this time so nothing presses on the unset edges.
- Fit your homemade protector in a steamy bathroom after a hot shower. The humid air pulls dust down and out of the way — with a hand-cut film you get no second chances from a spare in the pack, so the cleanest possible air matters more than ever.
Honest Expectations: DIY vs Manufactured
A homemade PET film protector is a scratch shield, nothing more. It will stop keys, sand, and daily abrasion from marking your screen, and it does that job nearly as well as a bought film protector. What it will not do: absorb a drop (film adds no impact resistance — that is tempered glass’s job, and you cannot cut glass at home), match the glass-smooth feel or fingerprint resistance of a coated factory protector, or look quite as invisible at the edges. Expect a functional, slightly homespun result — and on a device with no commercial alternative, functional beats nothing every time.
Frequently Asked Questions
Can I make a tempered glass protector at home?
No. Tempered glass cannot be cut after tempering — scoring or trimming it makes it shatter — and its adhesive and coatings are factory processes. DIY protectors are film protectors; if you need impact protection for an unsupported device, a universal film plus a good case is the realistic combination.
What film should I buy for making my own?
Any clear PET protector film sold oversized — for a large tablet, or as universal cut-to-size sheets — works. Avoid window film, craft vinyl, and packaging plastics: they are optically poor, too thick or too stretchy, and their adhesives are wrong for screens.
How long will a homemade protector last?
Typically a few months of daily use before edges lift or the surface scuffs enough to notice — shorter than a quality factory film, but since one sheet yields several cut-outs, replacements cost you ten minutes rather than another purchase.
A homemade protector will not win any beauty contests, but on the device nobody makes accessories for any more, it is the difference between a screen that ages gracefully and one that does not age at all.