
Few installation problems are more frustrating than a tempered glass protector that simply will not bond. You lower it onto the screen, press, wait — and instead of the adhesive spreading smoothly to the edges, you are left with cloudy unbonded patches, lifting corners, or a stubborn halo that refuses to disappear. The good news is that most sticking failures have a fixable cause, and it is usually on the screen, not in the glass.
This guide works through the causes in the order you should check them: contamination on the screen, residue from previous coatings, alignment technique, and the protector itself. Work down the list before you conclude the protector is faulty — often it is not.
Key Takeaways
- Re-clean first: an alcohol prep wipe removes oils and residue that the standard wet wipe can leave behind.
- Old coatings sabotage new glass — leftover liquid protector or cleaning-product residue prevents even bonding.
- The hinge-tape method gives you perfect alignment and a controlled, one-shot application.
- Always press from the centre outward to push air ahead of the adhesive front.
- A persistent edge halo usually means curved screen edges or a protector that is not case-friendly — not bad technique.
- If a second protector from the same pack fails identically on a spotless screen, suspect warped or faulty glass and try another brand.
Step 1: Re-Clean With an Alcohol Prep
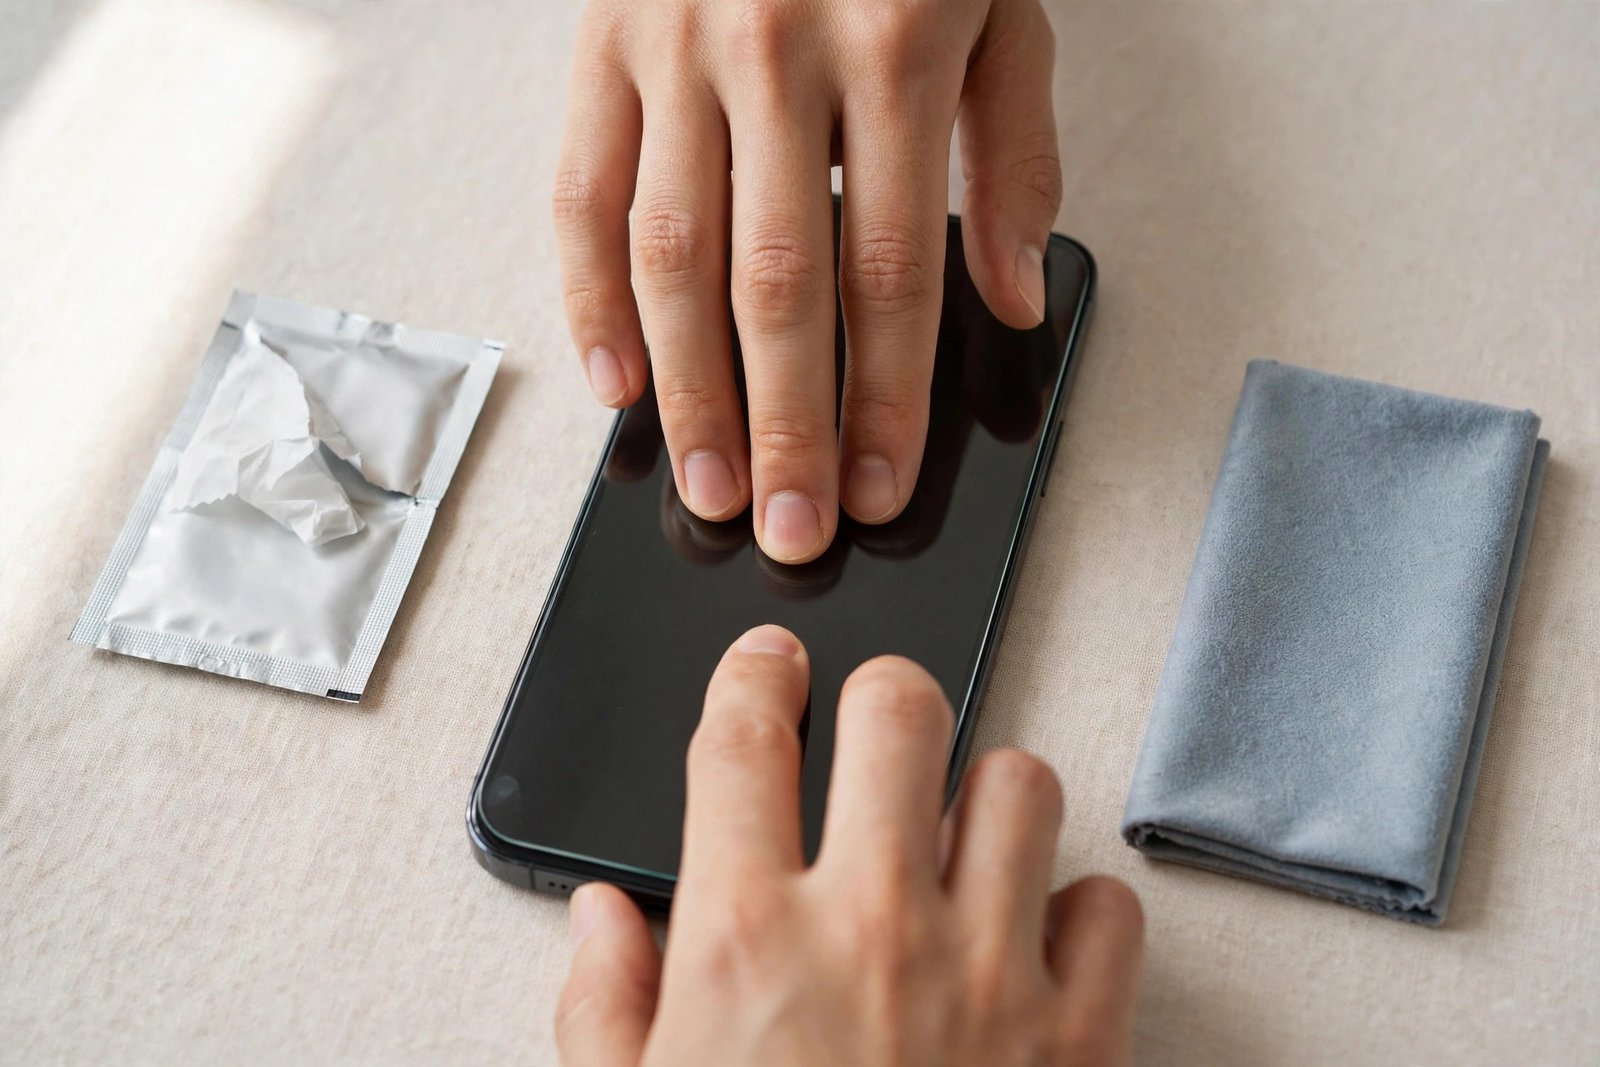
Start again from zero. Remove the protector carefully — if it has only just gone on, you may get one second attempt before the adhesive gives up. Then clean the screen far more aggressively than the first time: use an alcohol prep pad (many kits include one; pharmacies sell them cheaply) and scrub the entire surface, paying attention to the edges and the area around the earpiece and camera. Alcohol dissolves the skin oils, hand cream, and cleaning-spray residue that a standard wet wipe can simply smear around.
Buff dry with a fresh microfibre cloth, then go over the whole screen with a dust-removal sticker. Inspect the glass at an angle under bright light. You are looking for rainbow smears, streaks, or a hazy film — all signs of residue that will show up as unbonded patches under the new protector. Repeat the alcohol wipe until the glass squeaks clean and looks uniformly clear.
Step 2: Check for Old Coatings and Residue
If this phone has ever worn a liquid screen protector, an oleophobic coating treatment, or been polished with a nano-coating product, remnants of that layer can still be on the glass — and protectors bond poorly to them. The same goes for residue left by household glass cleaners or disinfectant sprays used on the screen. The alcohol prep usually strips these away, but a stubborn coating may need several passes.
A useful test: breathe on the screen and watch the condensation. On clean glass it forms a fine, even mist that clears uniformly. If it beads in patches or clears in streaks, something is still sitting on the surface in those places — keep cleaning there.
- Do the installation in a steamy bathroom after a hot shower — the humidity drags airborne dust down, so the freshly cleaned screen stays clean during the critical seconds before the glass goes on.
Step 3: Use the Hinge-Tape Method and Press Correctly
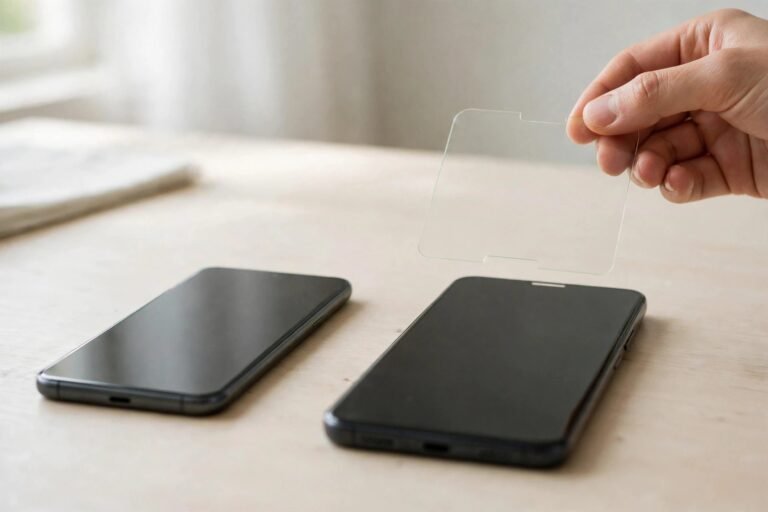
Poor first contact is a common cause of patchy bonding. The hinge method removes the guesswork: with the protector still backed, position it perfectly on the screen, then stick two strips of tape along one long edge, wrapping them around to the back of the phone so they form hinges. Flip the protector open like a book, peel the backing off while it is hinged open, clean the screen one final time, then swing it shut. It lands in exactly the aligned position, adhesive touching down progressively rather than all at once.
Once the glass is down, press firmly in the centre and work outward, chasing the bonding front toward the edges with your thumb. Hold pressure on any slow area for twenty to thirty seconds — warmth and sustained pressure help the adhesive flow. Small cloudy areas often finish bonding over the next 24 hours, so judge minor imperfections the following day rather than immediately peeling the glass off again.
Step 4: When It Is the Protector, Not You
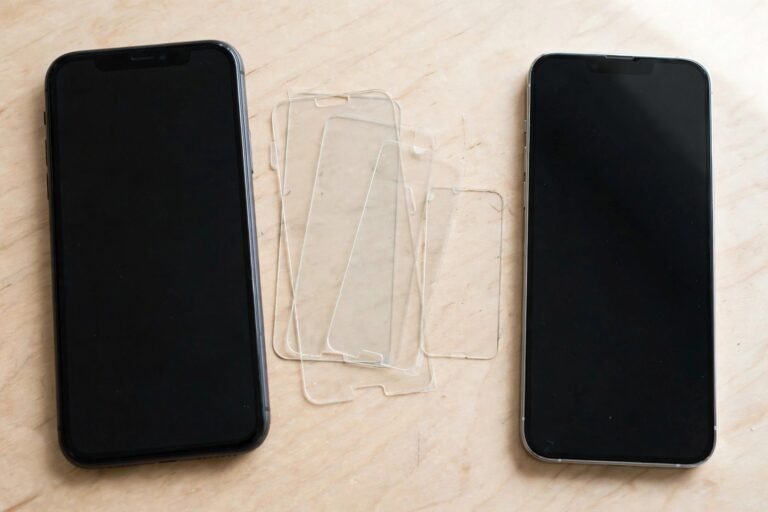
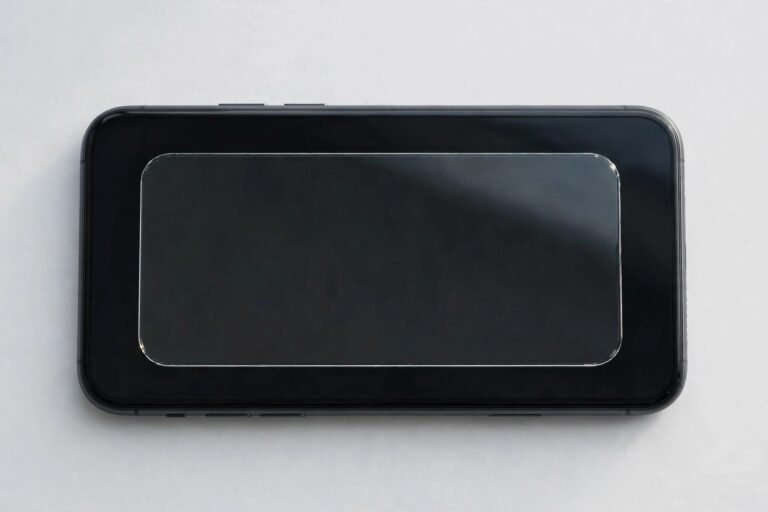
Sometimes the glass is the problem. A protector that is very slightly warped will rock on a flat surface and can never seal across its whole area. Edges that lift in a uniform frame around all four sides — the classic halo — usually indicate the protector extends onto the curved part of the screen, where flat glass physically cannot follow; the fix is a smaller, case-friendly protector, not more pressure. Glass that has been sitting in a hot car or stored bent under heavy items can also lose its flatness or adhesive quality.
If a second protector from the pack fails in the same way on a demonstrably clean screen, stop sacrificing protectors. Try a different brand with a case-friendly cut, and check whether your phone model has a known curved-edge design that needs a specifically shaped protector.
- Before peeling any backing, lay the protector on the screen and check the edges against a light: if you can see it bridging over a curve with daylight beneath the border, it will halo no matter how clean the screen is — exchange it for a case-friendly size.
Frequently Asked Questions
Why does my new protector stick in the middle but not at the edges?
That pattern almost always means the protector’s edges reach the curved portion of the display, where rigid glass cannot bend to meet the screen. It can also happen if a case is pressing on the border. A slightly smaller, case-friendly protector solves it in most instances.
Can I use extra adhesive or glue to make it stick?
No — do not apply household glue or extra adhesive to a standard protector. It can seep into speaker grilles and buttons, damage the screen’s own coatings, and make future removal messy or destructive. Specialist edge-seal products exist for curved-screen protectors, but for ordinary flat glass the correct fix is cleaning, alignment, or a properly sized protector.
How many attempts do I get with one protector?
Realistically one or two. Each lift exposes the adhesive to dust and stretches the bonding layer, so every retry bonds worse than the last. If the first attempt fails because of contamination, clean everything and retry once; after that, move on to the next protector in the pack.
When glass will not stick, suspect the screen before the protector: strip it squeaky clean, hinge it down in one motion, press from the centre — and only blame the glass when a second one fails the same way.