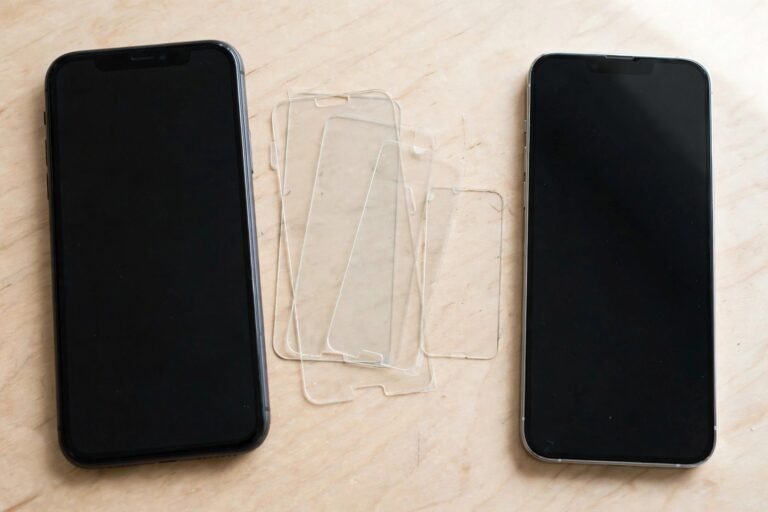

A protector only earns its keep if it goes on straight, bubble-free and fully sealed — and Gadget Guard kits are designed to make that easy, with cleaning gear and, on many of their glass protectors, an alignment tray or frame that positions the glass for you. This guide walks through a clean Gadget Guard install from preparation to the final edge check.
One important note before you start: kit contents vary between Gadget Guard product lines and models, so treat this as the universal method and follow the instructions in your specific kit wherever they differ — particularly on how its alignment tray fits and any registration step the packaging asks for. Check the packaging and current terms if you are unsure about anything warranty-related.
Key Takeaways
- Read the kit’s own instructions first — tray design and steps vary between Gadget Guard lines.
- If your kit includes an alignment tray or frame, use it: it removes nearly all of the guesswork from positioning.
- Preparation decides the result: wet wipe, dry cloth, then the dust-removal sticker, in that order.
- Handle the protector by its edges only and never touch the adhesive side.
- Push bubbles out from the centre towards the nearest edge; tiny dust-free bubbles often settle within 24–48 hours.
- If the packaging asks you to register the product for warranty cover, do it while the receipt is to hand — register per the packaging if required for warranty.
Step 1: Prepare the Phone and Workspace
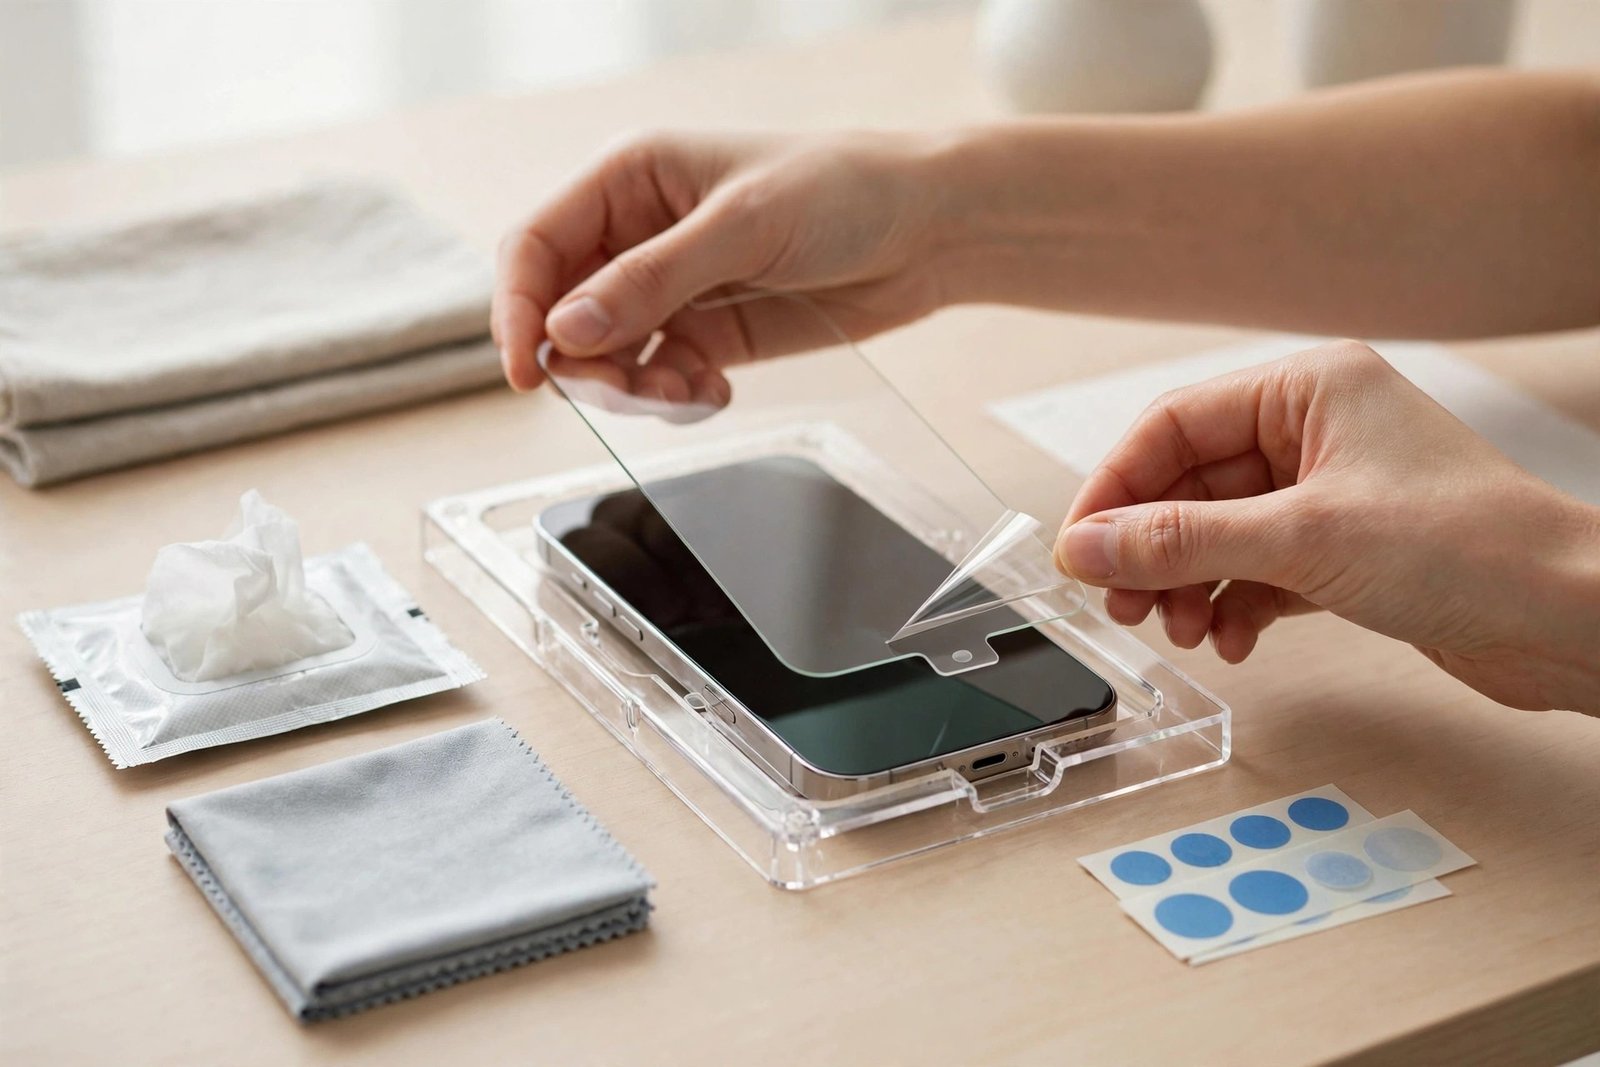
Choose a clean, flat, well-lit surface and keep dust down — a steamy bathroom works well because the humidity settles airborne particles. Wash and dry your hands. Remove your phone’s case, and if an old protector is fitted, peel it off slowly from one corner; if it is cracked glass, cover it with tape first so fragments stay together. Lay out everything in the kit before you begin: protector, wipes, cloth, dust stickers and tray if supplied.
Clean the screen in three passes. First, the wet wipe over the whole surface, including right up to the edges. Then buff dry with the microfibre cloth. Finally, dab the dust-removal sticker across the entire screen and peel it away — this lifts the specks the cloth leaves behind. Inspect the screen at an angle under the light; repeat the sticker pass until you cannot see a single speck, and do not touch the glass afterwards.
Step 2: Fit the Alignment Tray and Apply
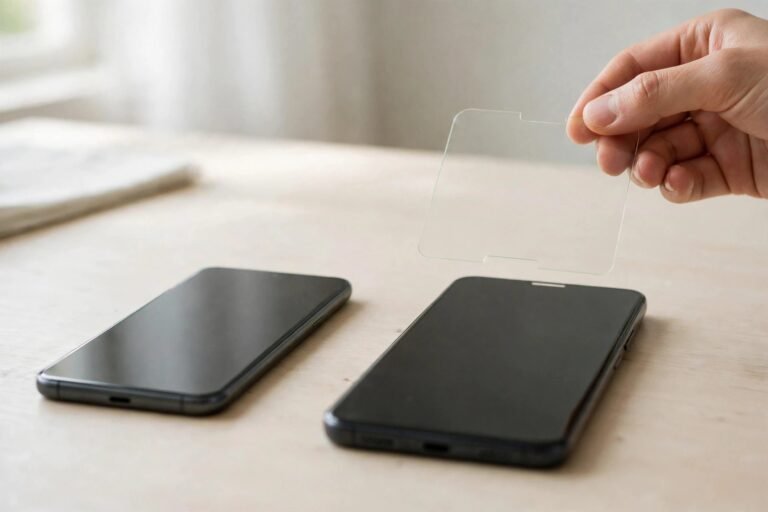
If your kit includes an alignment tray or frame, fit it to the phone exactly as the kit’s instructions describe — on many Gadget Guard glass kits the protector sits in or on the tray so that, once the tray is seated, the glass can only land in the correct position. If your kit has no tray, do a dry rehearsal: hover the protector over the screen (backing still on) and note how the speaker cutout, camera opening and edges should line up.
When you are ready, peel the backing film away, holding the protector by its edges, and lower it into place guided by the tray. Let it settle under its own weight rather than pressing immediately — on tempered glass the adhesive begins bonding from the centre outwards on its own. Once it has taken, press gently in the centre and smooth outwards with a fingertip, then remove the tray if one was used.
- Work quickly but calmly between the final dust-sticker pass and peeling the backing. That uncovered minute is when stray dust lands — the shorter it is, the cleaner the install.
Step 3: Chase Out Bubbles and Check the Edges
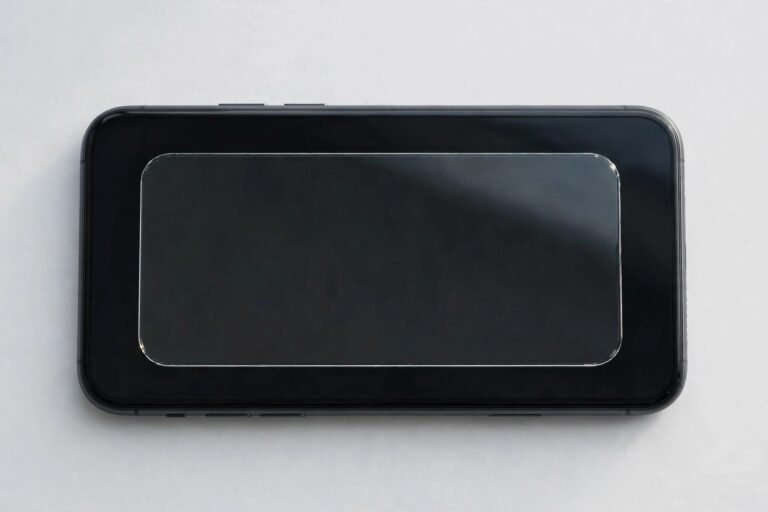
Work any bubbles towards the nearest edge with a fingertip or the edge of a card wrapped in the microfibre cloth, using firm, slow strokes. A bubble that refuses to move and has a visible speck at its centre has dust trapped under the glass: lift the nearest corner with a piece of tape, dab the speck away with a dust sticker, and lay the glass back down. Check all four edges sit flat with no lifting, and confirm touch response and any fingerprint sensor work normally.
Leave the case off for 15–30 minutes so the adhesive can set, and do not worry about a faint haze of micro-bubbles — dust-free ones commonly disappear within a day or two as the adhesive finishes curing. Finally, if the packaging directs you to register the product to activate its warranty or replacement cover, do it now and keep the receipt; requirements vary by product, so register per the packaging if required for warranty and check current terms.
- Fit the protector before the case goes back on, and check the case afterwards: a case lip that rides up onto the glass edge can lift a fresh install, so confirm there is a hairline of clearance all the way round.
Frequently Asked Questions
My kit has no alignment tray. Can I still get it straight?
Yes — the tray is a convenience, not a requirement. Use the hinge method: position the protector on the screen with its backing still on, tape one long edge to the phone like a hinge, lift it back, peel the backing, and let it swing down into exactly the rehearsed position. Align by the speaker cutout and camera opening first, as those are the references your eye judges best.
Can I lift and redo it if it goes on crooked?
Usually once, if you act within the first minute or so before the adhesive fully sets. Lift slowly from a corner using tape rather than a fingernail, keep the adhesive side facing down and away from dust, realign, and reapply. After the adhesive has cured, a redo risks weak edges and trapped dust — a fresh protector from a multi-pack is the better outcome.
Does the warranty cover a cracked protector?
Many Gadget Guard products are sold with a replacement or warranty promise, but the scope, registration window and claim process are set by the specific product and can change — check the packaging and the brand’s current terms, and keep your proof of purchase. If registration is required to activate cover, missing that step is the most common reason claims disappoint.
Clean screen, steady tray, patient bubbles. Follow your kit’s instructions where they differ, and a Gadget Guard install is a five-minute job done properly the first time.