
Applying a liquid glass screen protector is the easiest installation in the screen-protection world — no alignment, no tray, no peeling backing film at exactly the wrong moment. Instead, you wipe a solution over the screen, let it bond, and buff it clear. Because there is so little to go visibly wrong, people rush it, and that is where most disappointing results come from: the quality of a liquid application is decided almost entirely by the cleaning beforehand and the patience afterwards.
This guide walks through the standard method that applies to most wipe-on liquid glass products. One rule outranks everything here: your specific product’s instructions are the final authority. Application amounts, waiting times, and curing periods vary between products, so read the leaflet or packaging first and follow it wherever it differs from the general steps below.
Key Takeaways
- Read your product’s own instructions first — quantities, waiting times, and curing periods differ between brands and versions.
- The screen must be completely clean and grease-free before the liquid touches it, or the coating bonds to the dirt instead of the glass.
- Apply a thin, even film over the whole screen — more liquid does not mean more protection.
- Buff after the stated waiting time to level the coating and remove excess.
- Respect the curing time. Using the phone hard, wetting it, or pocketing it too soon weakens the finished coating.
- Avoid harsh cleaners and abrasive wiping afterwards — they strip the coating you just applied.
Step 1: Clean the Screen Properly
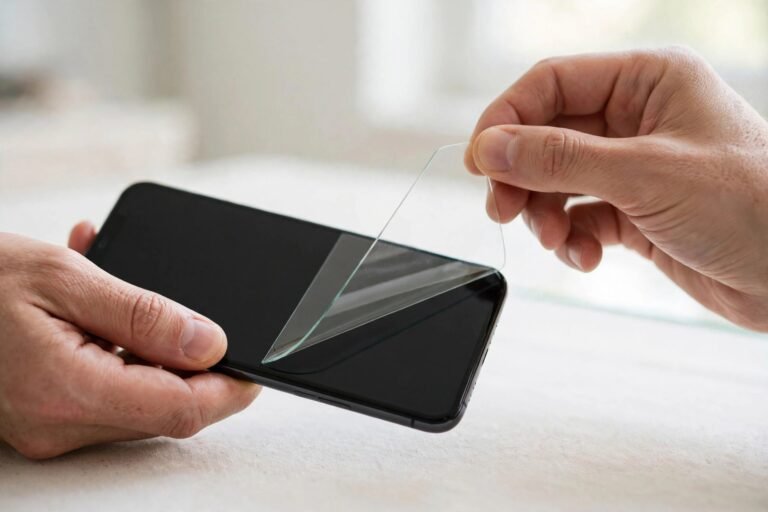
Remove your phone case, and remove any old glass or film protector — a liquid coating must be applied to bare glass, never over an existing protector. If there was a previous liquid coating, it will have largely worn away through use; a thorough clean is still essential.
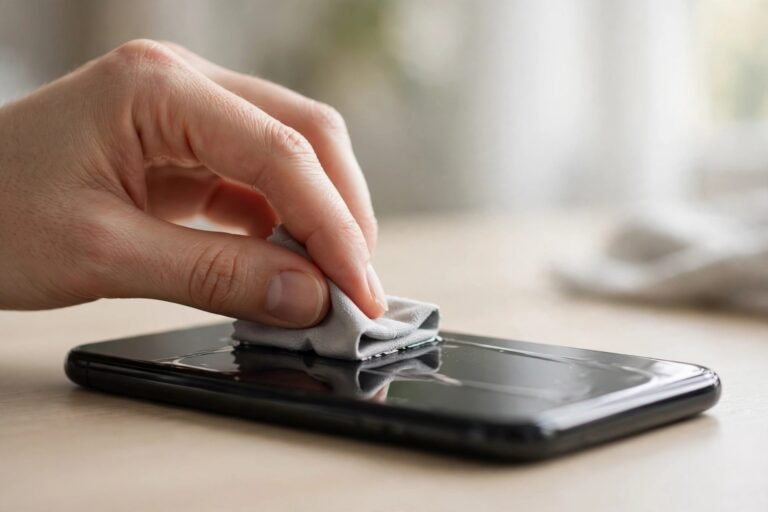
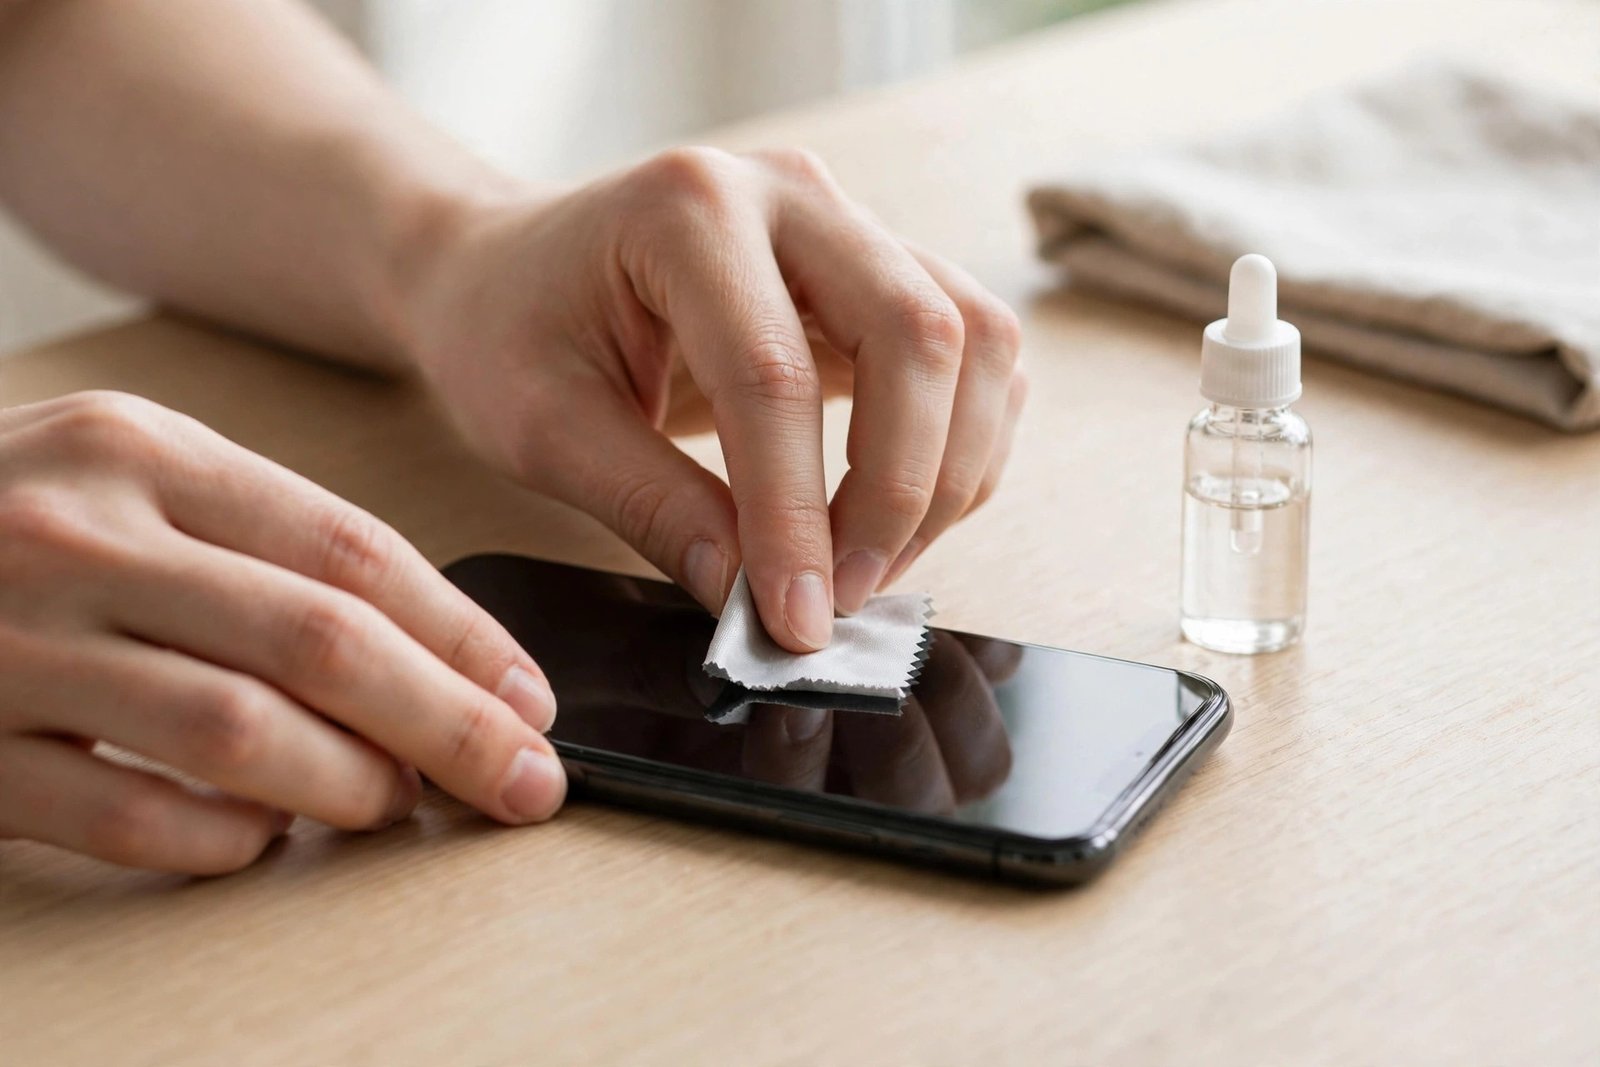
Most kits include a wet cleaning wipe and a dry cloth, and the order matters: wet wipe first, working over the whole screen in overlapping strokes including the edges and around the speaker and camera area, then buff dry with the microfibre cloth until the glass is completely clear. Hold the phone at an angle under a bright light and inspect it — any fingerprint grease, smear, or dust you can see now will be sealed under the coating, and the coating cannot bond properly to an oily surface. Wash and dry your hands before you start, and once the screen is clean, handle the phone by its edges only.
Step 2: Apply the Liquid Thinly and Evenly
Products deliver the liquid in different ways — a pre-soaked applicator cloth, a small vial to pour onto a pad, or a spray — so follow your kit’s format. The universal principle is the same: cover the entire screen with a thin, continuous film. Work in smooth, overlapping strokes from one side to the other so no strip is missed, and pay attention to the corners and the curved edges, which are the easiest areas to skip.
Resist the urge to flood the screen. Excess liquid does not cure into a thicker, stronger layer — surplus simply gets buffed away or, worse, pools and dries unevenly. One even pass with the amount your instructions specify is the target. If the product directs a second coat or a specific interval between coats, follow that guidance rather than improvising.
- Apply the coating in the evening and leave the phone on a clean surface overnight. Whatever curing period your product states then passes while the phone sits untouched — no willpower required.
Step 3: Wait, Buff, and Let It Cure
Many products specify a short waiting period after application — often a few minutes — during which the coating begins to bond to the glass. Do not skip it. When the stated time has passed, buff the screen with a clean, dry microfibre cloth using light circular motions. This spreads the coating into a uniform layer and removes residue, and the screen should end up looking exactly as it did before you started: a correctly applied liquid protector is completely invisible.
Then comes the part everyone underestimates: curing. The coating continues to harden after buffing, and products commonly require several hours — some longer — before the layer reaches full strength. During curing, keep the phone away from water, avoid sliding it into a tight pocket or bag where fabric will rub the surface, and ideally leave it somewhere clean and undisturbed. Putting a case back on is fine once the surface feels fully dry and the initial waiting period has passed, but the overnight approach above removes all doubt.
Aftercare: Mistakes That Shorten a Coating’s Life
A liquid coating is hard but extremely thin, and its lifespan is mostly decided by how the screen is treated afterwards. The fastest way to shorten it is aggressive cleaning: solvent-based cleaners, antibacterial sprays, and abrasive cloths all attack the coating. A soft microfibre cloth — dry, or very slightly dampened with water — is all routine cleaning should involve.
The other common mistakes happen in the first day: wetting the phone during the curing window, fitting it into a gritty pocket, or applying the liquid over a half-cleaned screen in the first place. Finally, accept the coating’s nature — it wears gradually and invisibly through normal friction, so note the date you applied it and plan to reapply on whatever interval your product recommends, rather than assuming one application lasts the life of the phone.
- Keep the applicator routine gentle for the first 24 hours even after curing feels complete: no waterproof-test dunks, no beach bags full of sand. The coating is at its most vulnerable before it has fully hardened.
Frequently Asked Questions
What if I can still see streaks after buffing?
Streaks usually mean slightly too much liquid or uneven buffing. Buff again with a clean, dry part of the microfibre cloth using light pressure. If streaking persists, it typically fades as the coating finishes curing. Avoid adding more liquid to “fix” it — that makes unevenness worse, not better.
Can I apply a liquid protector over an existing glass protector?
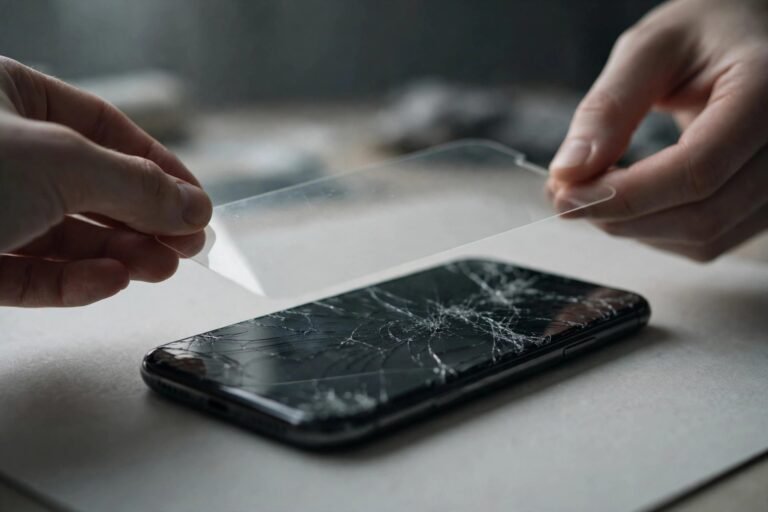
It is not the intended use. The coating is designed to bond to the phone’s own glass; applied over a glass protector it would coat the protector instead, which is already a replaceable layer. If you want a coating’s benefits, apply it to the bare screen — and never apply it over a cracked protector.
How soon can I use my phone normally afterwards?
Light use after buffing is usually acceptable, but full normal use — pockets, bags, water exposure — should wait until the product’s stated curing period has elapsed. That period varies between products from a few hours to considerably longer, so check your own product’s guidance rather than a general figure.
Liquid glass rewards a careful ten minutes: scrub the screen spotless, wipe on a thin even film, buff it clear, and then leave it alone to cure. Do those four things and the invisible coating will do its quiet work for as long as it can.