
Liquid screen protectors are a very different creature from the glass and film protectors most people know. There is nothing to align, nothing to peel, and nothing rigid to crack — instead, you wipe on an invisible nano-coating that bonds to your screen at a microscopic level. Pela sells one of these liquid protectors, and while the application is simple, doing it carefully makes the difference between a coating that lasts and one that wears away in weeks.
This guide walks through the universal method for applying a liquid protector like Pela’s, step by step. Always read the instructions supplied with your specific product first — application and curing details can vary between versions, so treat the product’s own directions as the final word and this guide as the explanation behind them.
Key Takeaways
- Preparation decides the result — the screen must be completely clean and grease-free before the liquid touches it.
- Apply a thin, even layer across the whole screen; more liquid does not mean more protection.
- Buff after applying to spread the coating evenly and remove any excess.
- Respect the curing time stated in the product instructions — using the phone too soon weakens the bond.
- A liquid coating helps against fine scratches and scuffs, but it is not a substitute for tempered glass against drops and impacts.
- Coatings wear down gradually and need reapplication over time — check the product guidance for the recommended interval.
What a Liquid Protector Actually Does
Liquid protectors are typically based on silicon dioxide — the same basic ingredient as glass — suspended in a liquid carrier. When you wipe the solution across your screen, it fills in the microscopic pores and imperfections in the glass surface. As it cures, it forms an ultra-thin, hardened layer that makes the surface smoother and more resistant to the fine scratches caused by keys, coins, grit, and everyday pocket wear.
It helps to be clear-eyed about the limits. The cured layer is measured in nanometres, so it adds no meaningful thickness and no cushion against impact. Vendors sometimes describe hardness ratings for these coatings, but a liquid protector should never be relied on the way you would rely on tempered glass for drop protection. Think of it as an extra layer of scratch resistance and a surface that is easier to wipe clean — valuable, but not armour.
Step 1: Clean the Screen Thoroughly
Everything depends on this step. Any oil, dust, or fingerprint residue left on the glass will be sealed under the coating, and the liquid will not bond properly to a dirty surface. Start by removing your phone case and, if you have one fitted, your old protector. Wipe the screen down with an alcohol-based cleaning wipe or the cleaning supplies included in the kit, working across the whole surface including the edges and around the speaker and camera cut-outs.
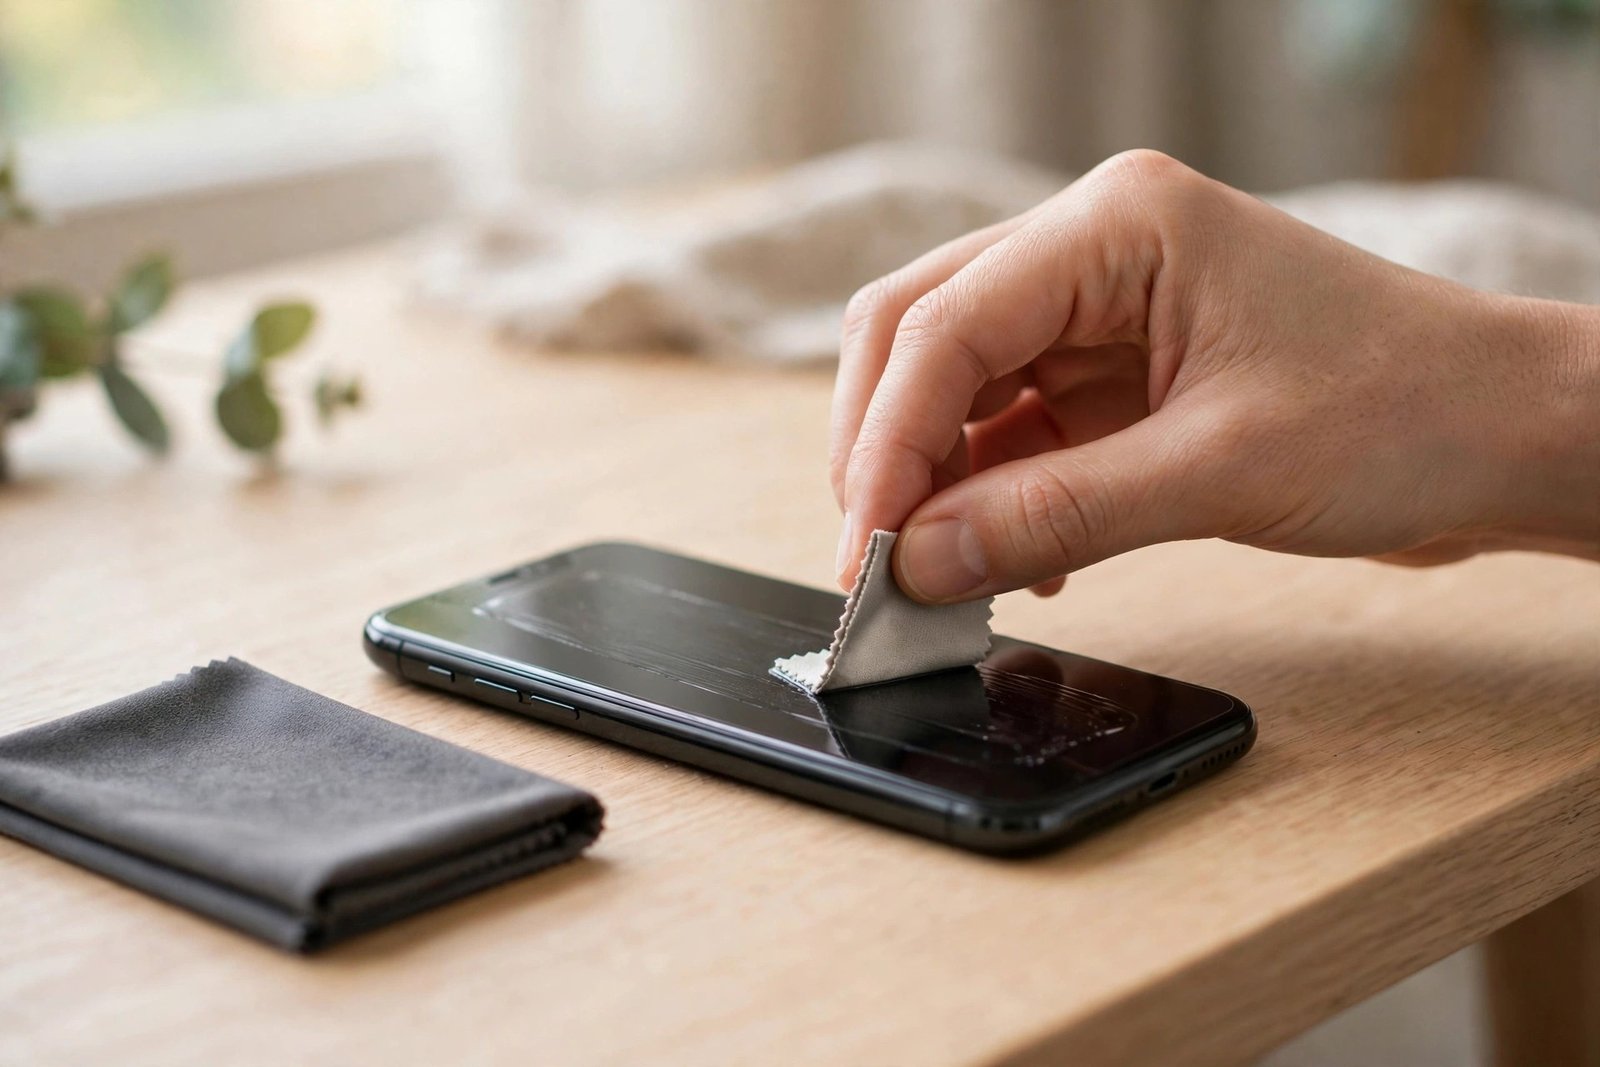
Follow with a clean, dry microfibre cloth and buff until the glass looks perfectly clear. Hold the phone at an angle under a bright light and inspect it: any smear you can see now will be locked in later. Work in a low-dust environment if you can — a steamy bathroom, where humidity settles airborne dust, is ideal for this just as it is for glass protectors.
- Wash and dry your hands before you start, and avoid touching the screen with your fingers once it is clean — skin oil is the most common cause of a patchy, uneven coating.
Step 2: Apply the Liquid Evenly
With the screen spotless, apply the liquid exactly as the product instructions direct. Typically this means saturating the supplied applicator cloth or wipe with the solution and spreading it over the entire screen in smooth, overlapping strokes. Cover every part of the glass — corners and edges included — but aim for a thin, uniform film rather than a puddle. Excess liquid does not cure into extra protection; it simply gets buffed away.
Work methodically from one side of the screen to the other so you do not miss a strip. If the instructions specify a waiting period between application and buffing — often a few minutes to let the coating begin bonding — follow it rather than rushing ahead.
Step 3: Buff and Let It Cure
Once the liquid has been applied and any stated waiting time has passed, buff the screen with a clean microfibre cloth using light, circular motions. This spreads the coating into an even layer and removes residue, leaving the glass looking exactly as it did before — which is the point. A properly applied liquid protector is completely invisible, adds no bulk, and works with any case and most in-display fingerprint sensors.
Finally, respect the curing time. Many liquid coatings need several hours — sometimes longer — to fully harden, and the product instructions will state the figure for your version. During curing, keep the phone away from water, pockets full of grit, and heavy use if you can. Reaching for the phone immediately does not ruin everything, but it can shorten the coating’s effective life.
- Apply the coating in the evening and leave the phone on a clean surface overnight — that way the full curing window passes while the phone is untouched, and you lose no usable time.
Frequently Asked Questions
How long does a liquid screen protector last?
It varies by product and by how hard the phone is used. The coating wears gradually through friction, cleaning, and exposure to chemicals in soaps and sanitisers. Check the guidance supplied with your product for its stated lifespan and reapplication interval, and expect heavy use to shorten it.
Can I put a case on after applying a liquid protector?
Yes — because the coating has no thickness, it is compatible with virtually every case, including tight-fitting ones that would lift the edges of a glass protector. Just wait until the curing period has finished before snapping the case back on.
Does a liquid protector stop my screen cracking in a drop?
No. A nano-coating can improve resistance to fine scratches and make the surface marginally harder, but it provides no impact absorption. If drop protection is your priority, tempered glass — or glass combined with a good case — is the appropriate choice.
A liquid protector rewards patience: clean meticulously, apply thinly, buff well, and let it cure. Ten careful minutes now buys months of invisible scratch resistance.