
Applying a tempered glass screen protector is a five-minute job that people routinely turn into a dusty, bubbly ordeal — not because it’s difficult, but because the two minutes of preparation get skipped. The glass itself does most of the work: it is rigid, it drops flat, and its adhesive spreads on its own. Your job is simply to give it a perfectly clean screen and a straight landing.
This guide is the canonical method, step by step: how to clean the screen properly, how to align the glass using a tray or the hinge-tape method, how to press it down so the adhesive bonds evenly, and how to fix bubbles and check the edges before you call it done.
Key Takeaways
- Preparation decides the result: wet wipe, dry cloth, dust sticker — in that order, every time.
- Work in a steamy bathroom so humidity settles airborne dust while you work.
- Use the alignment tray if your kit has one; otherwise use the hinge-tape method for a one-shot landing.
- Handle the glass by its edges only and never touch the adhesive side.
- Press from the centre outward and let the adhesive spread ahead of your thumb.
- Tiny dust-free bubbles usually settle within 24–48 hours; a bubble with a speck in it never will — lift and dab it away.
Step 1: Set Up and Clean the Screen
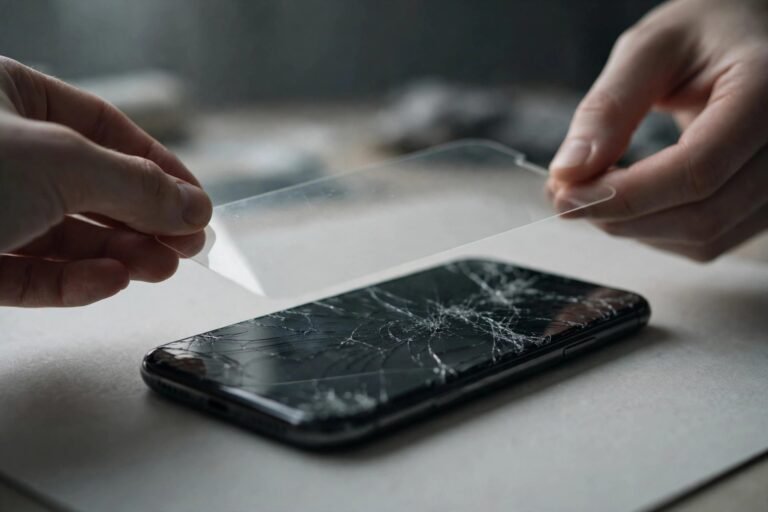
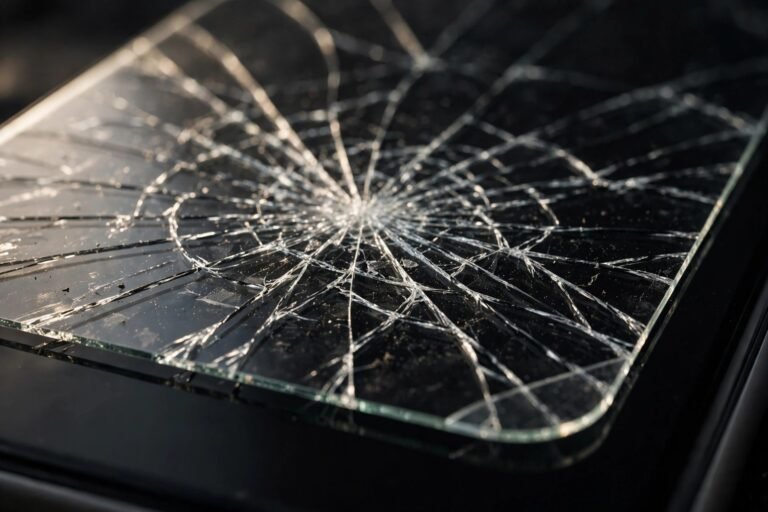
Run a hot shower for a few minutes and work in the steamy bathroom — humidity pulls dust out of the air, and dust is the cause of almost every failed install. Wash and dry your hands. Remove the phone’s case, and if an old protector is fitted, peel it off slowly from one corner; if it is cracked, cover it with packing tape first so the fragments stay together.
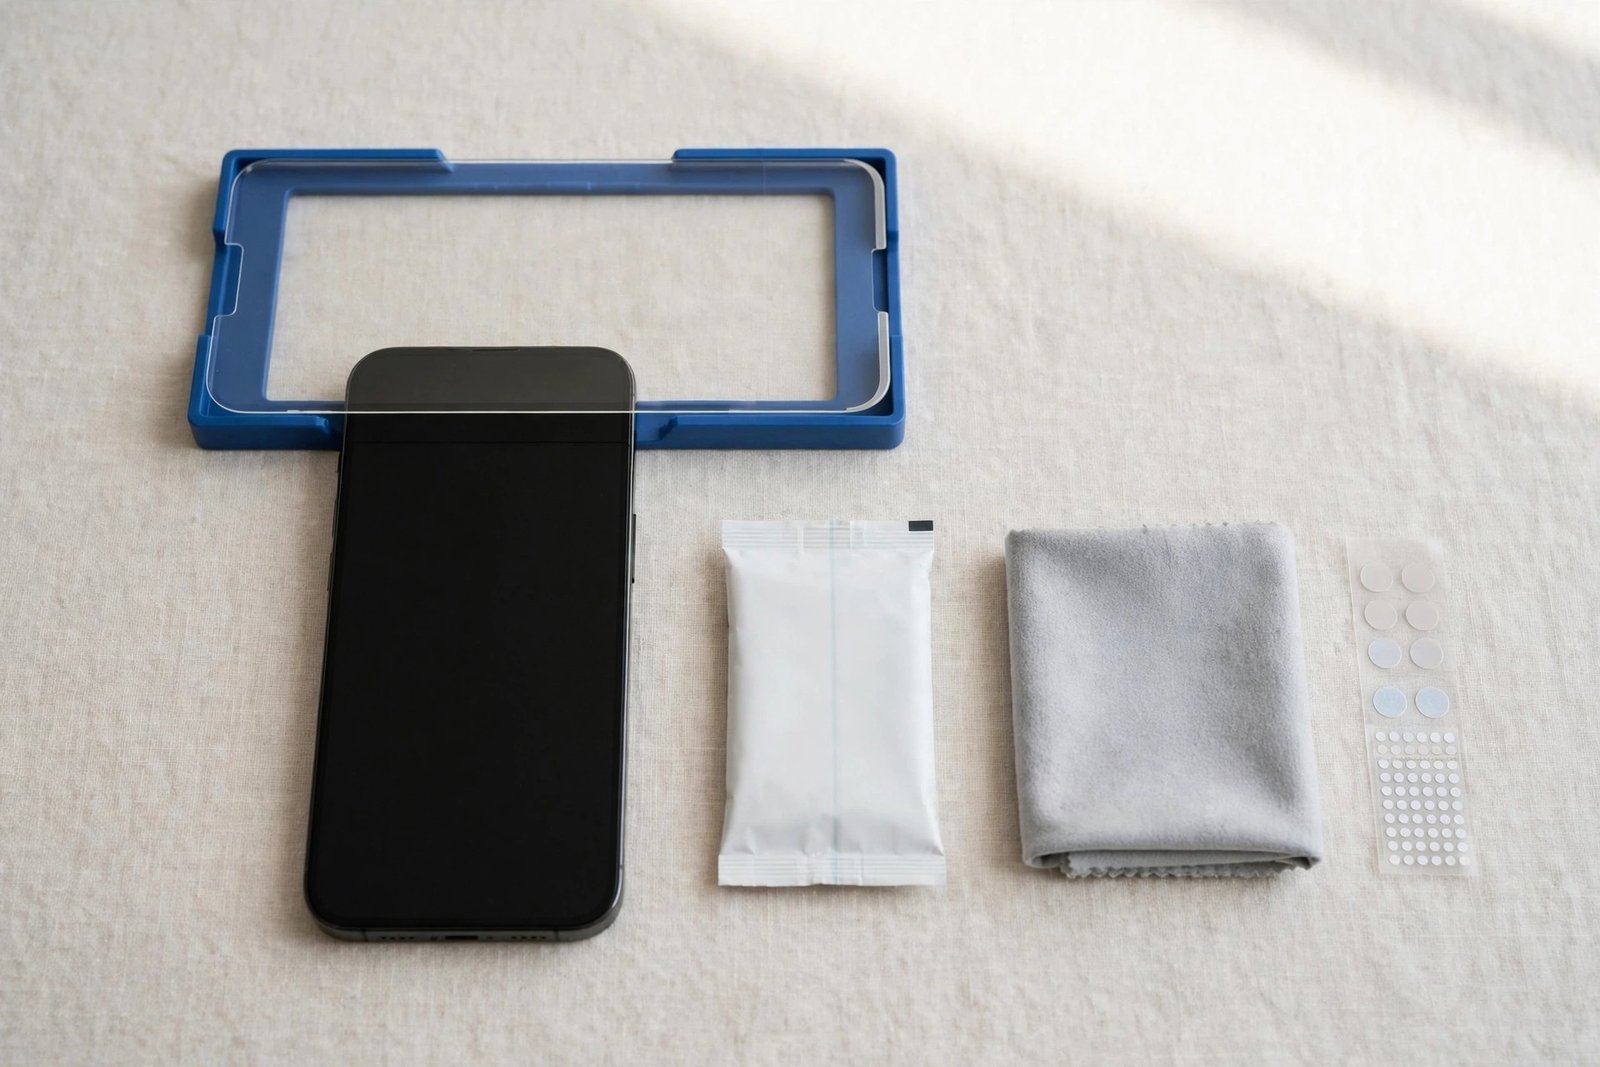
Now clean in three passes. First the wet wipe, over the whole screen including right up to the edges. Then buff completely dry with the microfibre cloth. Finally, press the dust-removal sticker across the entire screen and peel it away — this lifts the invisible specks the cloth leaves behind. Tilt the phone under a light and inspect at an angle; repeat the sticker pass until you cannot see a single speck. From this moment, do not touch the glass.
- The window between the final dust-sticker pass and the glass going down is when installs are won or lost. Lay everything out beforehand so that window is measured in seconds, not minutes of fumbling with packaging.
Step 2: Align — Tray or Hinge Method
If your kit includes an alignment tray or frame, fit it to the phone now, exactly as the kit directs. On many modern kits the glass sits in the tray, so once the tray is seated the protector can only land in the correct position — this removes nearly all the skill from the job, so use it if you have it.
No tray? Use the hinge method. With the protector’s backing still on, position it perfectly on the screen, lining up the speaker cut-out, camera opening and edges. Stick two strips of tape along one long edge, wrapping them around to the back of the phone to form hinges. Flip the protector open like a book, peel the backing off while it is hinged open, give the screen one last dust-sticker pass, then swing it shut. It lands in exactly the position you rehearsed, every time.
Step 3: Apply and Press From the Centre Out
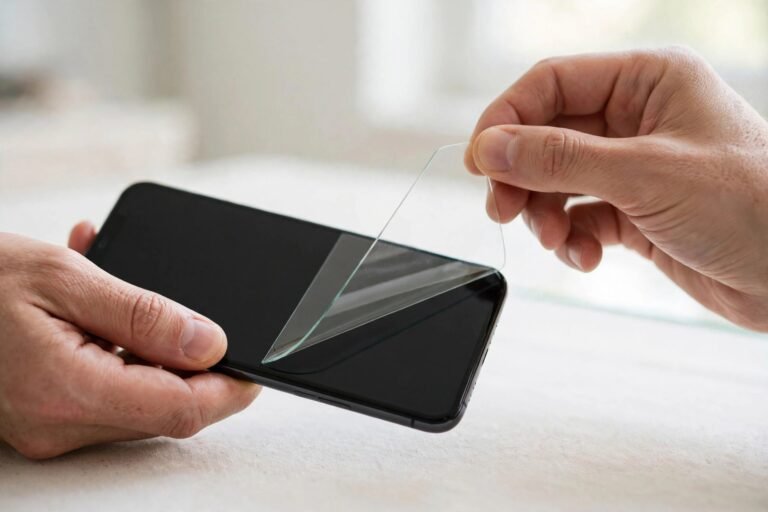
Peel the backing film away, holding the glass by its edges, and lower it into place — guided by the tray, or swinging down on its hinges. Let it settle under its own weight for a few seconds rather than pressing immediately: tempered glass adhesive begins bonding from the centre outward on its own, and you can watch the bonded area spread like a slow ripple.
Once it has taken, press firmly in the centre and work outward toward the edges with your thumb, chasing the bonding front ahead of your finger. Hold pressure for a few seconds on any slow patch. Then run a fingertip around all four edges, pressing each one down, and check that none of them lift. Test touch response across the screen and, if your phone has one, the in-display fingerprint sensor.
- Leave the case off for 15–30 minutes after fitting. Snapping a tight case on straight away can push against a glass edge and lift it before the adhesive has fully set.
Step 4: Fix Bubbles and Do the Final Edge Check
Work any bubbles toward the nearest edge with a fingertip or a squeegee, using firm, slow strokes from the centre outward. Learn to read what you see: a plain air bubble is empty and will move; a bubble that refuses to shift and has a tiny speck at its centre has dust trapped under the glass. For that one, lift the nearest corner with a strip of tape, dab the speck away with a dust sticker, and lay the glass back down.
Finish with a slow lap of the perimeter: all four edges flat, no halo lifting, corners seated, cut-outs clear of the speaker and camera. Don’t judge minor cloudiness too harshly on the day — small dust-free bubbles and faint unbonded patches commonly finish settling over the next day or two as the adhesive cures. Judge the install tomorrow; intervene today only for dust bubbles and lifting edges.
Frequently Asked Questions
It went on crooked. Can I lift it and try again?
Usually once, if you act within the first minute or so before the adhesive fully sets. Lift slowly from a corner using tape rather than a fingernail, keep the adhesive side facing down and away from dust, realign, and reapply. After the adhesive has cured, a redo risks weak edges and trapped dust — a fresh protector from the pack is the better outcome.
Why won’t the edges stick down?
A uniform lifting frame around all four edges — the classic halo — usually means the protector reaches onto the curved part of the screen, where flat glass physically cannot follow, or that a case is pressing on the border. More pressure won’t fix geometry: a slightly smaller, case-friendly protector will.
Should I use the wet wipe that came in the kit, or something else?
The kit wipe is fine — it is made for exactly this. What matters is the sequence and the finish: wet wipe, thorough dry buff, then the dust sticker last, and no fingers on the glass afterwards. If the screen still shows smears at the inspection stage, repeat the wipe and buff before reaching for the sticker again.
Clean screen, straight landing, centre-out press: that is the whole technique. Do the two minutes of preparation properly and tempered glass practically installs itself.