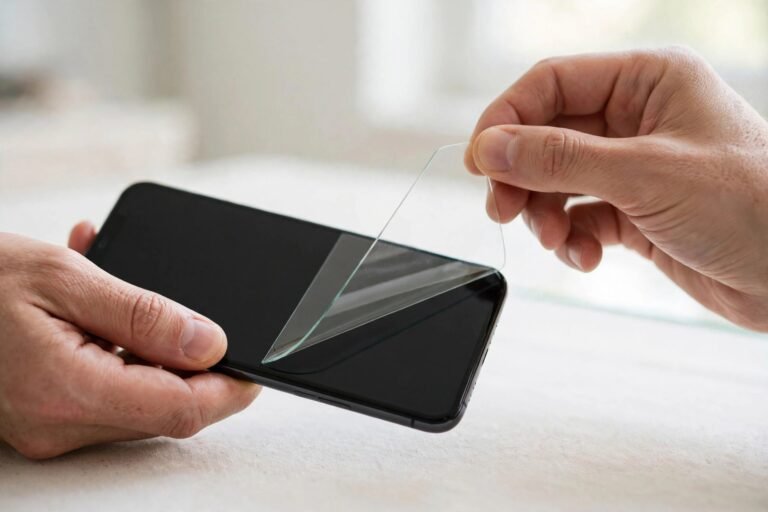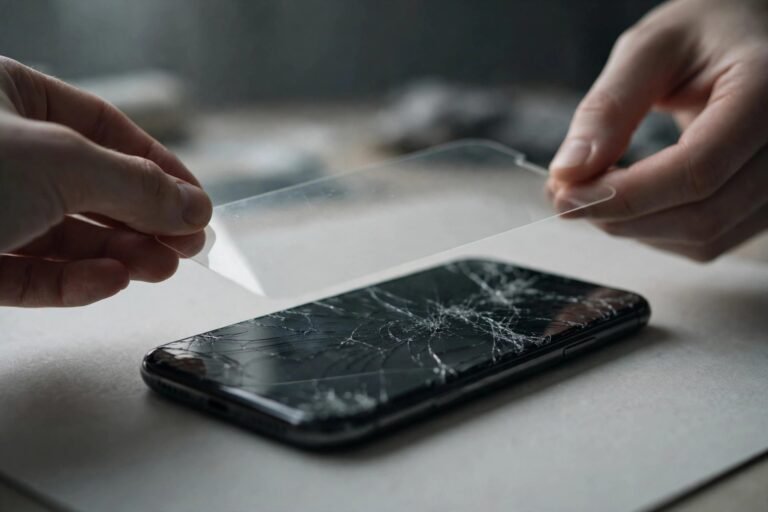

Paperlike and other paper-feel screen protectors are beloved by digital artists and note-takers for the tactile friction they add to the iPad’s glass. But that same micro-textured surface — the very thing that makes drawing feel like paper — also makes these protectors fussier to clean than ordinary smooth glass. Their tiny surface texture traps skin oils, dust, and fibres in ways a flat protector simply does not.
Clean a paper-feel protector the way you would clean bare glass and you will likely end up with streaks, lint embedded in the texture, or a gradually polished-smooth patch where you draw most. This guide covers the gentler routine these textured protectors need: the right tools, the correct technique, what to avoid, and how to tell when cleaning is no longer enough.
Key Takeaways
- Paper-feel protectors need gentler cleaning than smooth glass — their micro-texture traps oils and lint that aggressive wiping drives deeper.
- Use a clean, dry microfibre cloth with light pressure and straight strokes; lift dust with tape or a blower before wiping whenever possible.
- A cloth barely dampened with distilled water handles stubborn smudges; avoid alcohol, which dries out and can dull the matte texture.
- Never use paper towels, tissues, abrasive pads, or circular scrubbing — they polish the texture flat in patches and leave fibres behind.
- The drawing zone naturally smooths with heavy use; when the texture is gone or the surface stays hazy after cleaning, replace the protector.
Why Paper-Feel Protectors Clean Differently
A standard tempered glass protector is essentially a flat, hard mirror: contaminants sit on top and wipe away easily. A paper-feel protector is a landscape of microscopic peaks and valleys engineered to create drag against a stylus tip. Fingerprint oils settle into those valleys, dust lodges between the peaks, and cloth fibres catch on the texture instead of gliding over it.
This has two consequences. First, contaminants are harder to remove — they are sheltered by the texture. Second, aggressive cleaning damages the very feature you paid for: hard rubbing burnishes the peaks flat, creating smooth shiny patches (usually in the centre of the drawing area) where the paper feel is permanently lost. The cleaning goal is therefore to remove grime with the minimum possible abrasion.
The Safe Cleaning Routine
Step 1 — Remove loose dust first
Before any cloth touches the surface, lift away loose particles. A manual blower brush (the kind used for camera lenses) puffs dust out of the texture without contact. Alternatively, press short strips of low-tack painter’s tape lightly across the surface and peel them away — this lifts dust and lint from the valleys far more effectively than wiping, which tends to push particles around.
Step 2 — Dry wipe with light pressure
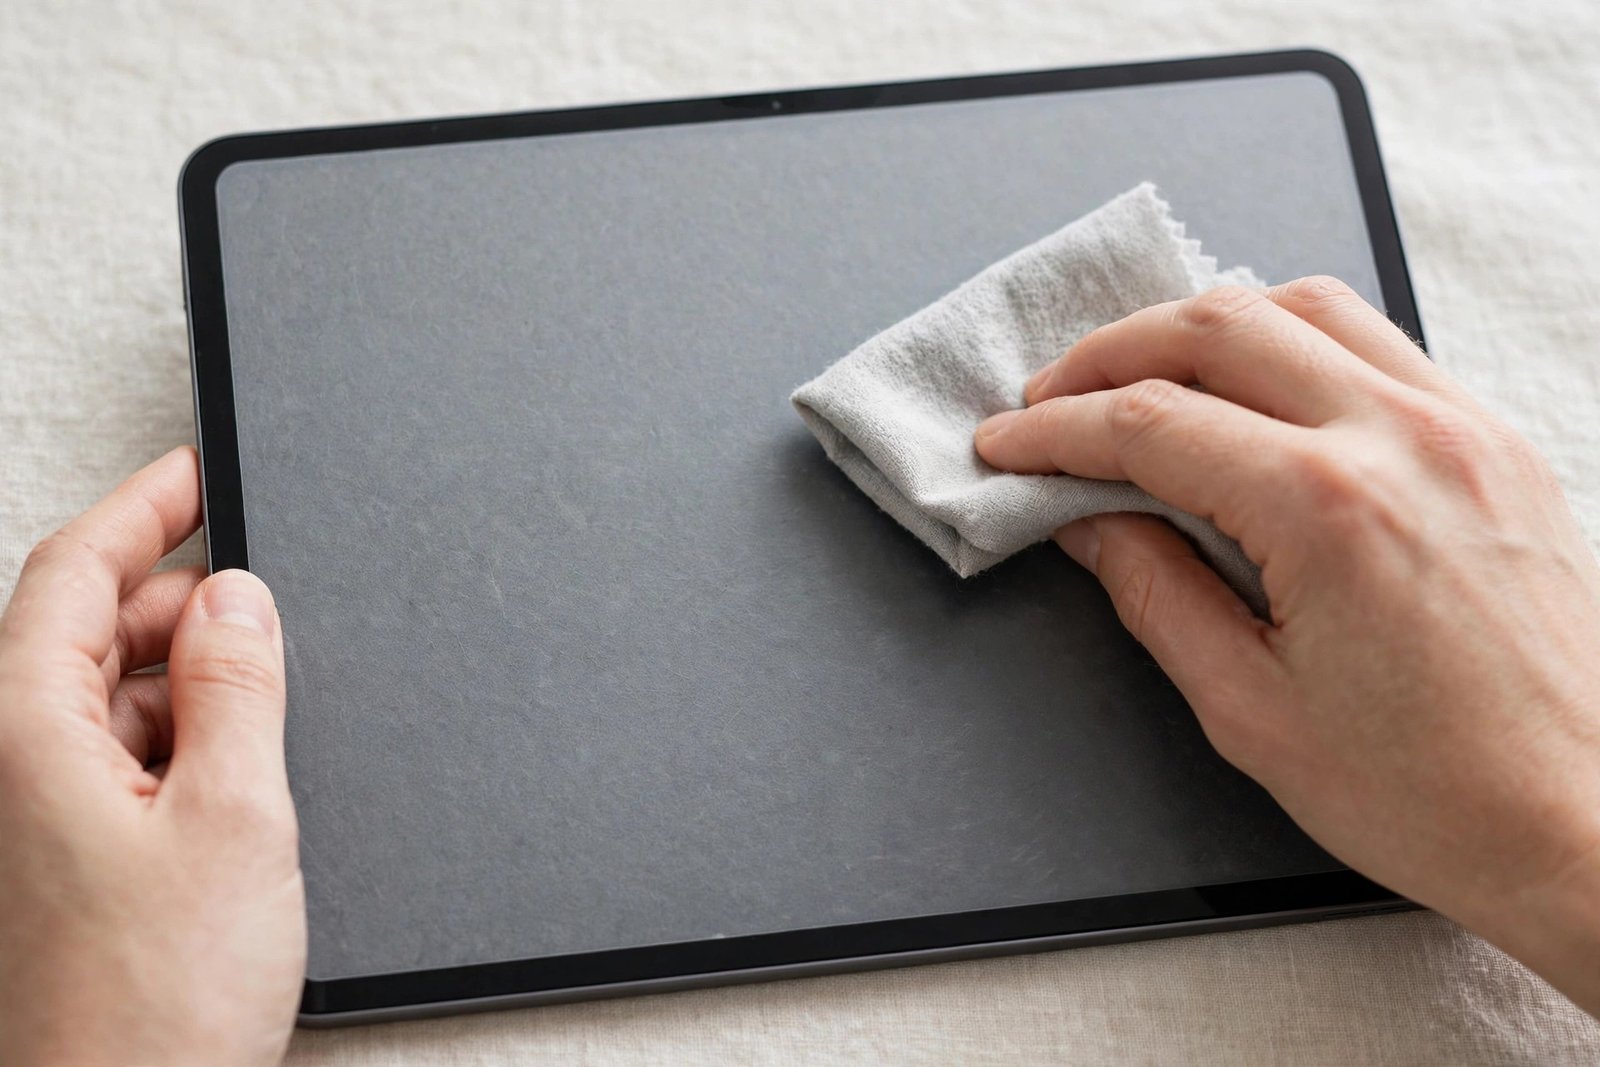
Using a clean, high-quality microfibre cloth, wipe in straight, overlapping strokes with barely any pressure — let the cloth do the work. Work in one direction rather than circles, which concentrate abrasion. For daily maintenance, this dry pass is usually all that is needed, and it is the gentlest option for the texture.
Step 3 — Damp clean only stubborn smudges
If oily fingerprints remain after dry wiping, dampen a corner of the microfibre cloth with distilled water until it is barely moist — never wet. Wipe the smudged area with light, straight strokes, then immediately follow with a dry section of the cloth to remove moisture. Moisture left sitting in the texture dries into visible streaks that are harder to remove than the original smudge.
- Dedicate one microfibre cloth solely to the paper-feel protector and wash it frequently. A cloth that has previously cleaned a greasy phone screen will transfer that grease straight into the texture, and embedded grit in a dirty cloth acts like sandpaper on the delicate surface.
What to Avoid
Isopropyl alcohol is the most common mistake. On smooth glass it is a fine occasional cleaner, but on paper-feel protectors it tends to dry out the matte coating and can leave the texture looking patchy or dulled. Reserve it for true emergencies, and prefer distilled water for routine damp cleaning.
Paper towels, tissues, and toilet paper are doubly bad here: their fibres accelerate texture wear, and they shed lint that lodges in the micro-texture. Abrasive pads and any “polishing” product will visibly flatten the texture. Window cleaners often contain ammonia that can cloud the matte finish.
Technique matters as much as materials: never scrub in circles, never bear down hard, and never dry-wipe when you can see grit on the surface — one hard wipe over a grain of sand can carve a permanent shiny streak through the texture.
Dealing with Stylus Debris and Shiny Patches
Heavy Apple Pencil use leaves its own residue: microscopic tip material transfers onto the protector, gradually building a slightly grey film in the drawing zone. A gentle damp wipe with distilled water usually lifts this. If the area has also become visibly smoother and shinier than the surrounding texture, that is mechanical wear, not dirt — the peaks have been burnished flat by thousands of strokes, and no cleaning will restore them.
Artists who draw for hours daily often find the central drawing area loses its paper feel within a few months while the edges stay textured. Rotating the iPad’s orientation for different projects spreads the wear, but ultimately this is the consumable nature of textured protectors — they are meant to be replaced more often than glass.
- If your protector looks hazy after cleaning, hold it under a bright light at an angle: uniform haze across the whole surface usually means dried moisture or residue (re-wipe with a barely-damp cloth, then buff dry); haze confined to the drawing zone usually means texture wear (time for a replacement).
How Often to Clean
For daily drawing or note-taking, a quick dry wipe at the end of each session prevents oils from settling into the texture overnight. A tape-lift or blower pass once or twice a week keeps dust from accumulating in the valleys. Reserve damp cleaning for visible smudges — the less moisture the texture sees, the longer it stays crisp.
Because the texture itself degrades with use, most heavy users replace paper-feel protectors every 3 to 6 months. Budget for this rhythm rather than fighting it — a fresh textured protector transforms the drawing experience.
Frequently Asked Questions
Can I use screen-cleaning sprays on a Paperlike protector?
Most commercial screen sprays are formulated for smooth glass and contain surfactants or alcohol that can dull matte textures. If the spray is alcohol-free and ammonia-free, a tiny amount on the cloth (never the screen) is usually acceptable — but plain distilled water is safer and just as effective for these protectors.
Why does my paper-feel protector look streaky no matter how I clean it?
Streaks on matte textures are almost always dried moisture or residue trapped in the micro-valleys. The fix is counterintuitive: wipe with a cloth barely dampened with distilled water using straight, light strokes, then immediately buff completely dry with a fresh dry cloth. Repeated damp-only passes without the final dry buff are what create the streaks.
Will cleaning restore the paper feel once it has worn smooth?
No. The paper feel comes from a physical micro-texture, and once drawing wear has polished it flat, that texture is gone permanently. Cleaning can remove the grime sitting on a worn area, which sometimes makes it feel marginally better, but it cannot rebuild the peaks. Replacement is the only real fix.
Paper-feel protectors reward a gentle hand: lift dust before wiping, use light straight strokes with a clean microfibre cloth, reach for distilled water rather than alcohol, and accept that the texture is a consumable. Cleaned this way, your protector will keep its satisfying drag for as long as its material allows.