
Camera lens protectors do their job quietly — until they crack, cloud over, or start ruining your photos with flare and haze. Then comes the part nobody looks forward to: getting the little glass ring or cover off again without scratching the very lenses it was protecting. Because camera protectors sit in a recessed, tightly fitted area, brute force is exactly the wrong approach. Heat, patience, and the right leverage point will get it off cleanly.
This guide covers removing both styles of camera protector — full covers that span the whole camera plateau and individual rings that sit over each lens — plus how to clear the adhesive residue they leave behind and how to avoid damaging the lens coatings underneath.
Key Takeaways
- Gentle warmth is the key first step — a minute of warm air softens the adhesive ring so it releases without a fight.
- Start the lift with a fingernail or plastic card, never a metal tool, which can gouge the camera surround and slip onto the lens.
- Work slowly around the edge rather than prising from one point — even pressure prevents the glass snapping mid-removal.
- Adhesive residue comes off with a microfiber cloth and patience; keep solvents away from the lens itself.
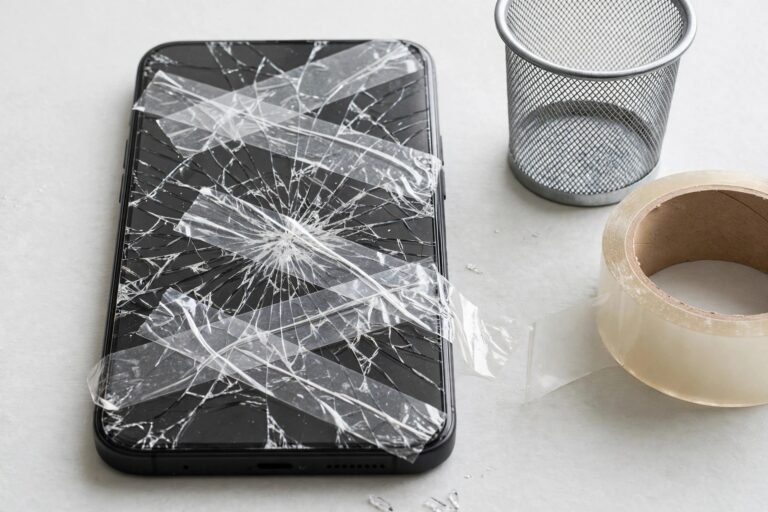
- If the protector is cracked, cover it with tape first so the fragments come away in one piece.
- Inspect and clean the lenses afterwards — residue or dust left behind will show up in every photo you take.
Step 1: Warm the Protector Gently
Camera protectors are held on by a ring or pad of adhesive, and like most adhesives it softens with warmth. Hold a hairdryer on its lowest heat setting roughly 15–20 centimetres from the camera area and move it slowly over the protector for 30–60 seconds. The goal is a protector that feels warm to the touch, not a hot phone — excessive heat is bad for battery and seals, so keep it brief and keep the dryer moving.
No hairdryer? Resting the phone face-down on a warm (not hot) radiator or a wheat bag for a few minutes achieves a similar effect. What matters is giving the adhesive a chance to soften before you apply any force at all.
Step 2: Lift an Edge and Peel Slowly
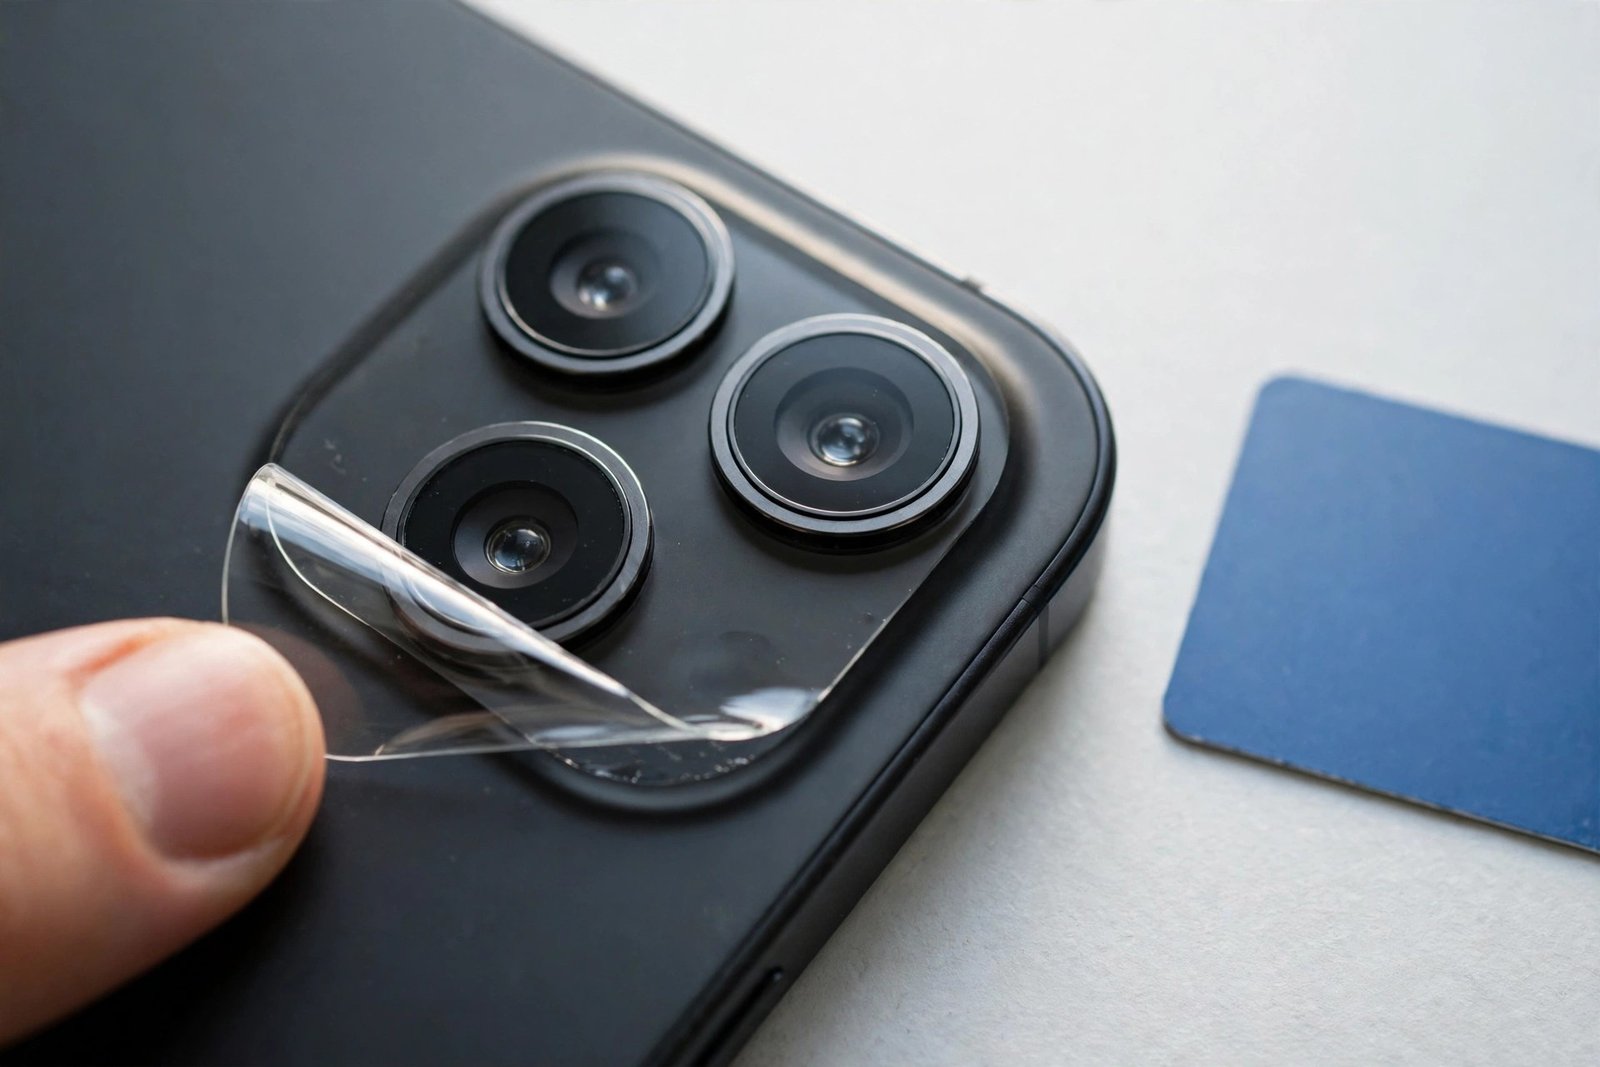
With the adhesive warmed, slide a fingernail under the edge of the protector at its least conspicuous corner. If your nails can’t get purchase, use the corner of a plastic card, a plastic spudger, or a wooden cocktail stick — anything softer than the metal camera surround. Once the edge lifts, don’t yank. Work your way around the perimeter, easing the lift a few millimetres at a time, and let the protector come away as a whole piece.
For individual lens rings, repeat the process per ring; they’re small, so a fingernail and a slow twist usually frees them once warmed. If resistance suddenly increases, stop and re-warm rather than forcing it — a protector that snaps mid-removal leaves sharp-edged fragments that are much harder to clear safely.
- Dental floss makes a surprisingly good removal tool: slide it under a warmed edge and saw gently back and forth to slice through softened adhesive without any prising at all.
- If a corner simply will not lift, warm that specific corner again instead of increasing force — stubborn spots are almost always cold spots.
Step 3: Remove the Adhesive Residue
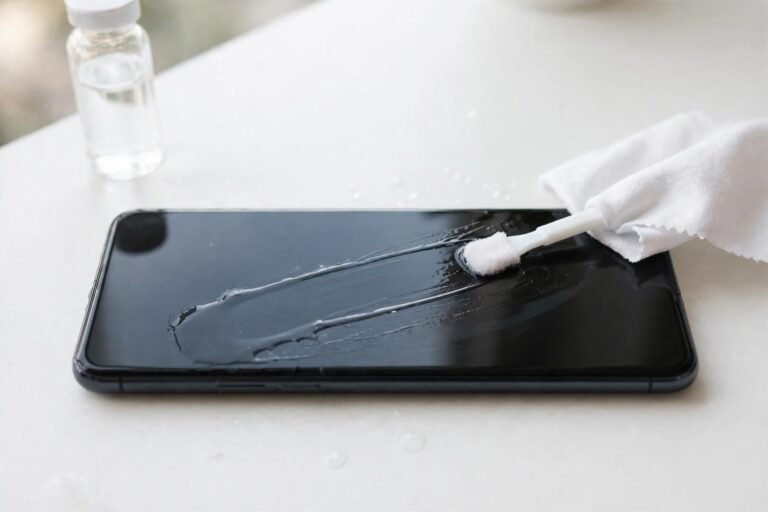
Most camera protectors leave a ring or film of adhesive behind. Start dry: rub the residue gently with a clean microfiber cloth, using small circular motions, and roll any gummy bits off with a fingertip. Leftover adhesive often balls up and lifts away cleanly once disturbed. A dust-removal sticker or a loop of sticky tape dabbed over the area picks up smaller traces.
For stubborn residue around the metal surround (never on the lens surface itself), a cotton bud barely dampened with water can help. Keep all liquids to a minimum and keep them off the lens, which brings us to the important caution below. Finish by wiping the whole camera area with a dry microfiber cloth and inspecting it under a bright light at an angle — residue that’s invisible head-on shows up clearly in reflected light, and in your photos.
Protecting the Lens While You Work
Phone camera lenses have anti-reflective and oleophobic coatings that are tougher than they used to be, but they are not invulnerable. Never scrape at a lens with metal, never use abrasive pads, and avoid solvent cleaners or alcohol directly on the lens surface — these can strip or cloud the coating and permanently soften your images. All your leverage should happen at the protector’s edge, against the surround, with the lens itself touched by nothing harder than microfiber.
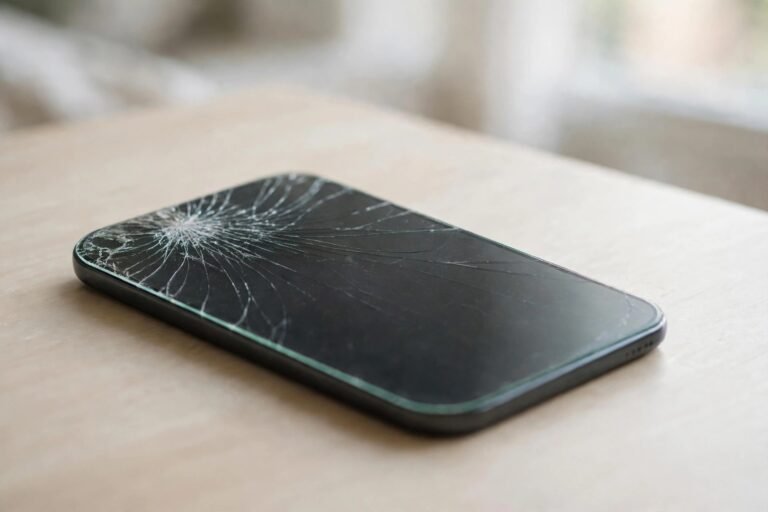
If the protector you’re removing is cracked, lay a piece of clear tape over the whole thing before you start lifting. The tape holds the shards together so the protector peels away as one sheet instead of scattering glass fragments across the camera plateau — the same trick that works for cracked screen protectors.
- Take a test photo of a plain, bright surface after removal. Flare, haze, or a soft patch in the same spot on every shot means residue remains on that lens.
- Blow loose dust off with a rocket blower or a few sharp breaths before wiping — dragging dry dust across a lens with a cloth is how fine scratches happen.
Frequently Asked Questions
Will removing a camera protector damage my lens?
Not if you follow the method above. The protector’s adhesive is designed to release from the surround, and warming plus slow, edge-only leverage keeps all force away from the lens. Damage happens when people prise with metal tools or scrape at residue — avoid those and the lens underneath emerges exactly as it was.
Can I re-stick the same camera protector after removing it?
Realistically, no. The adhesive ring stretches and picks up dust during removal, and a re-fitted protector rarely sits flat — you’ll get dust specks, lifted edges, and often worse photo quality than with no protector at all. Treat camera protectors as single-use and fit a fresh one.
How do I get residue off if it won’t budge?
Re-warm the area gently and try tape dabbing again — warmth loosens residue just as it loosens the protector itself. Work in short rounds rather than scrubbing harder. If a trace remains only on the metal surround and truly won’t shift, a specialist electronics-safe adhesive remover on a cotton bud, kept strictly off the lens, is a last resort.
Warm it, lift it slowly, and keep metal away from the glass — a camera protector that went on in a minute should come off just as uneventfully.